How to Install Roller Blinds
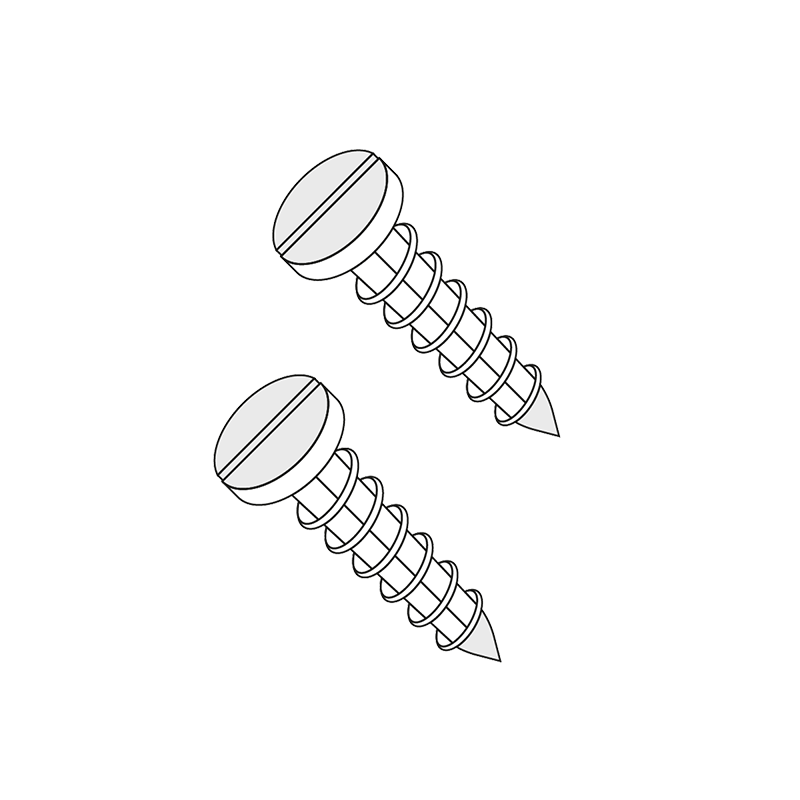
Installing your new roller blind is quick and easy with our how to guide. Check out the videos, grab your tools and follow the instructions below. If you need any assistance along the way please give us a call or start a live chat with our highly trained customer support team. You will need to provide your own screws as the type required varies greatly depending upon the surfaces you are fixing to. You will need 4mm diameter screws, suitable for the material you are installing into.
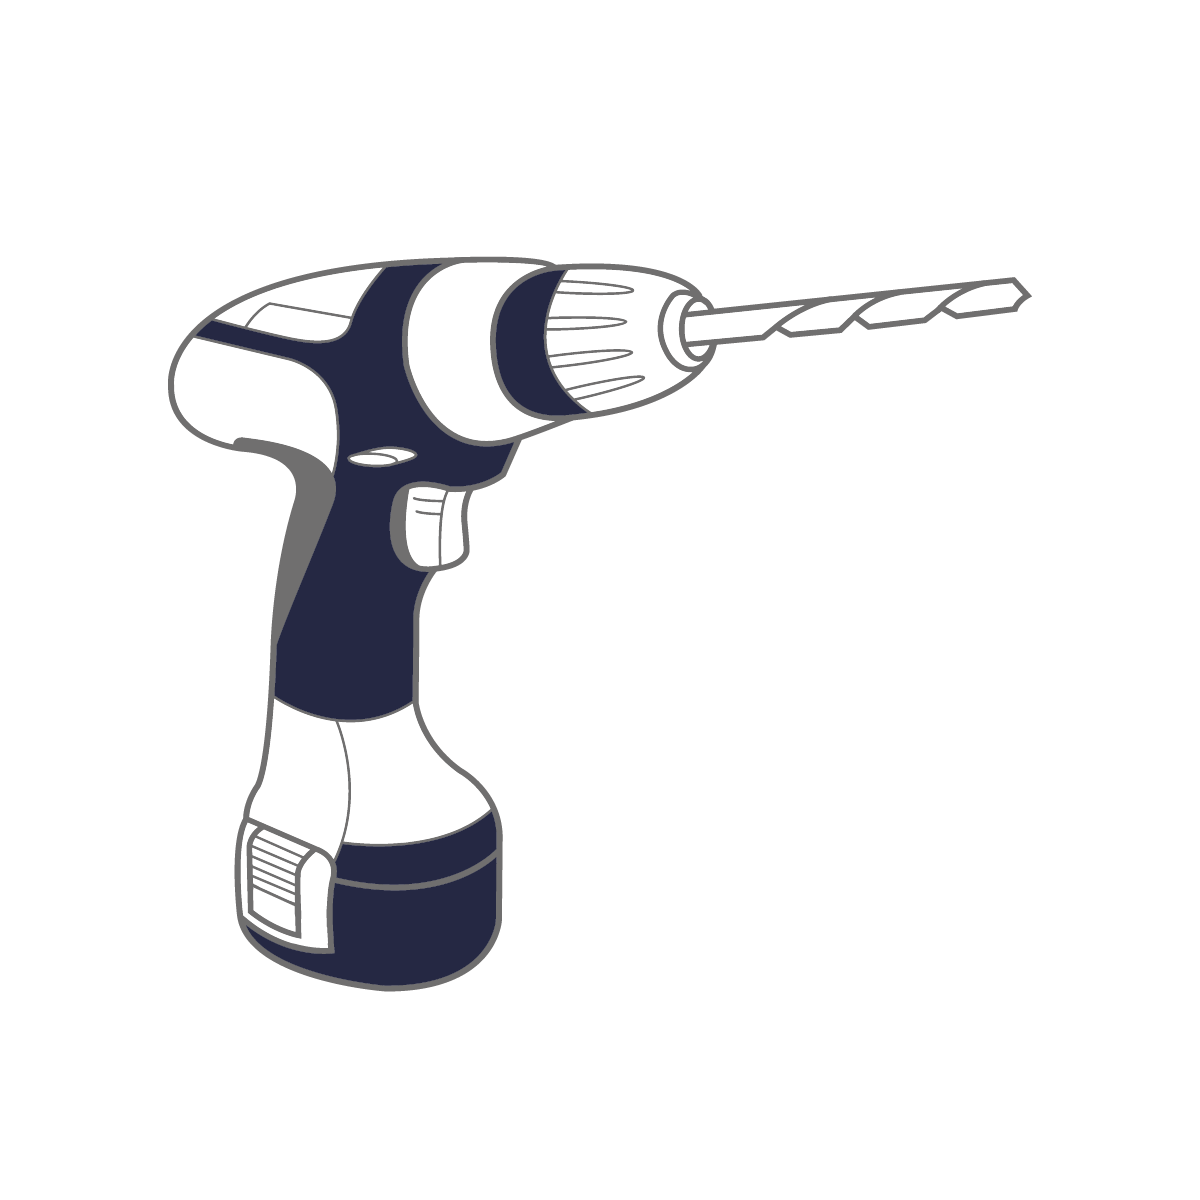
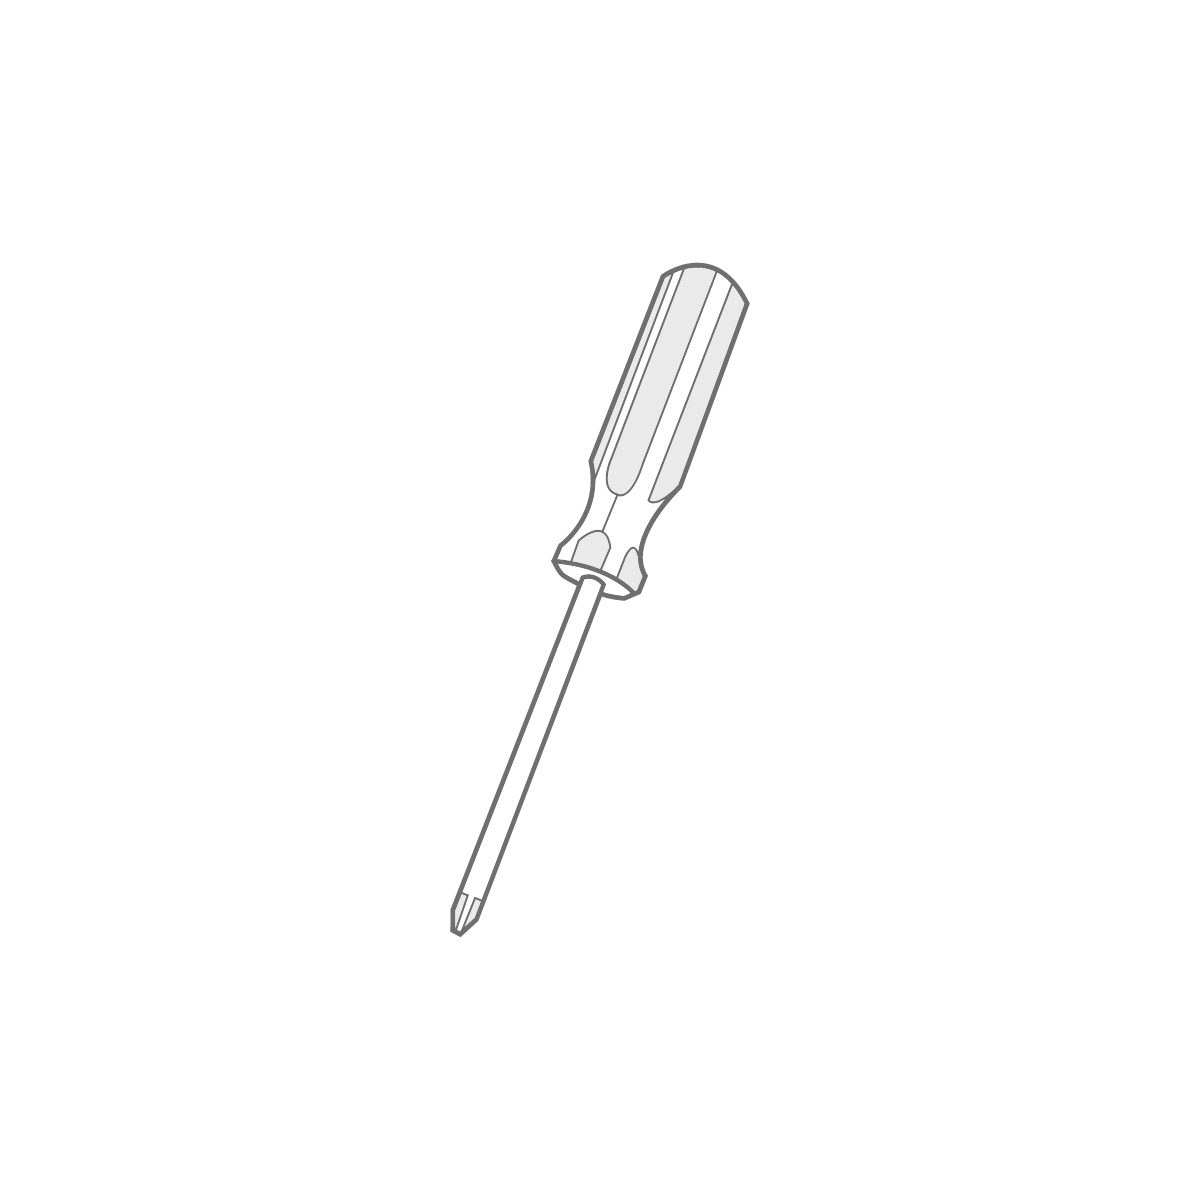
What You'll Need
To install your new blinds you will need the below tools.

Video
We recommend watching our how to install video guide first.
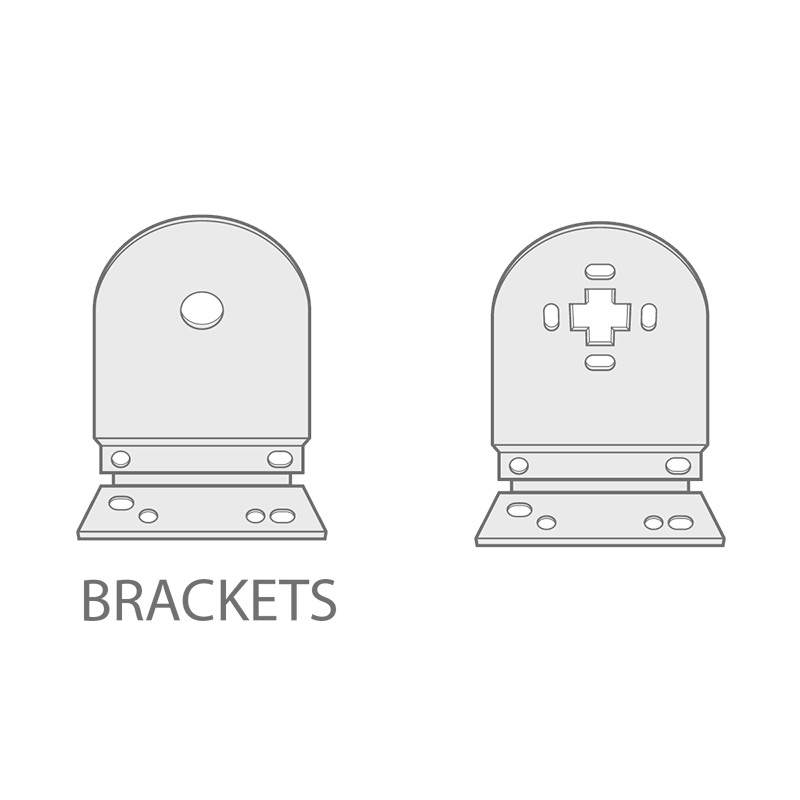
Deciding where to mount the brackets
Ensure that brackets are positioned a suitable distance away from any window, door handles or any other obstructions to allow the blind to operate smoothly.
Fitting Instructions
Step 1
Bracket Positioning
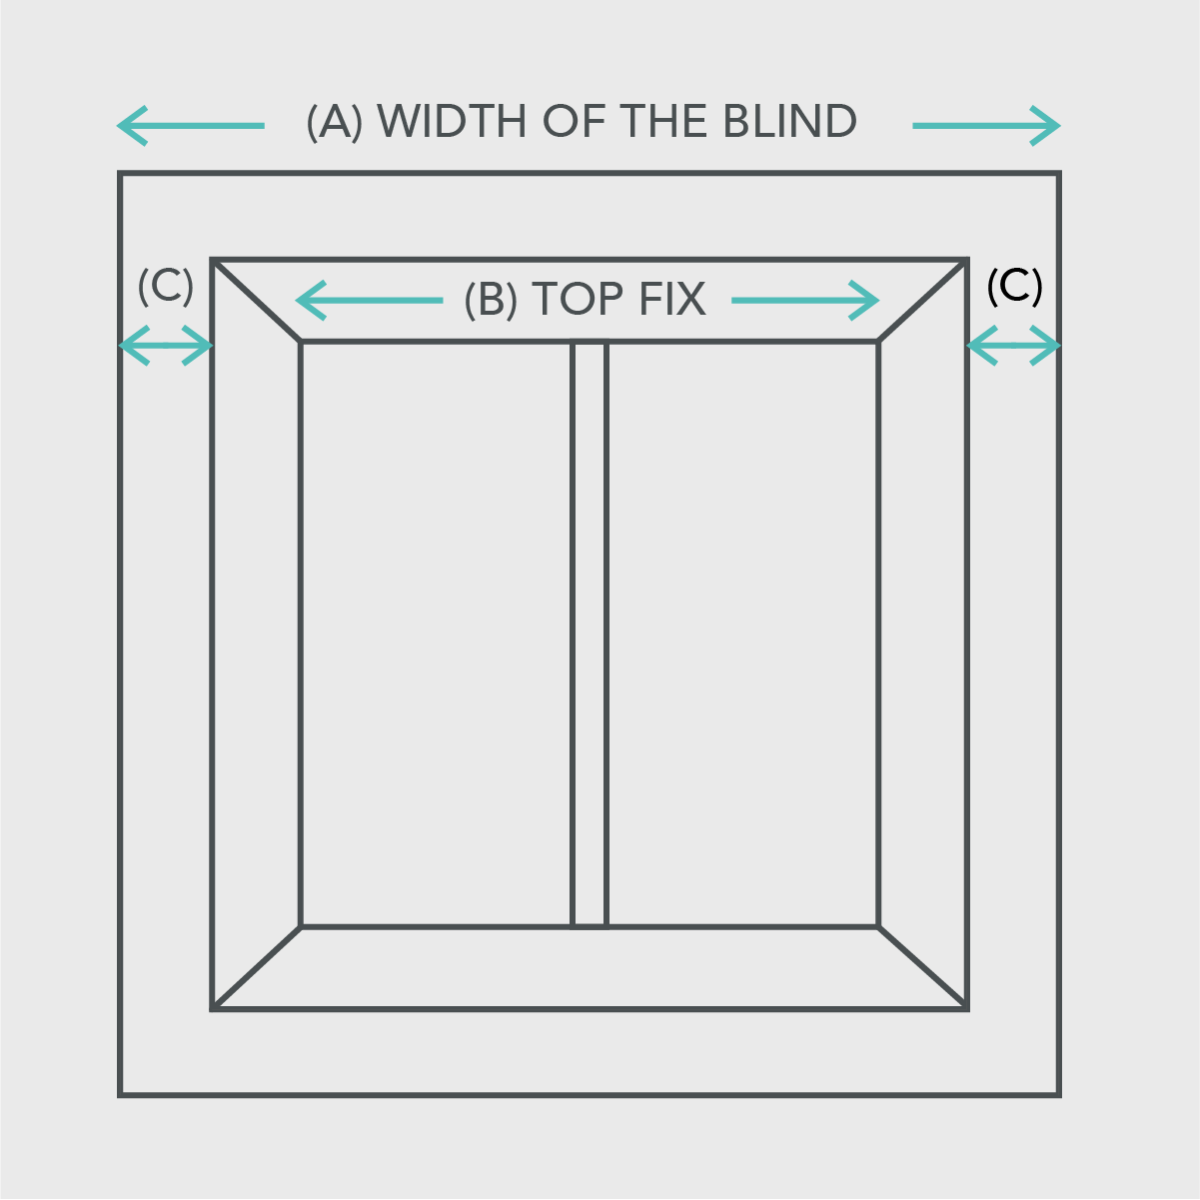
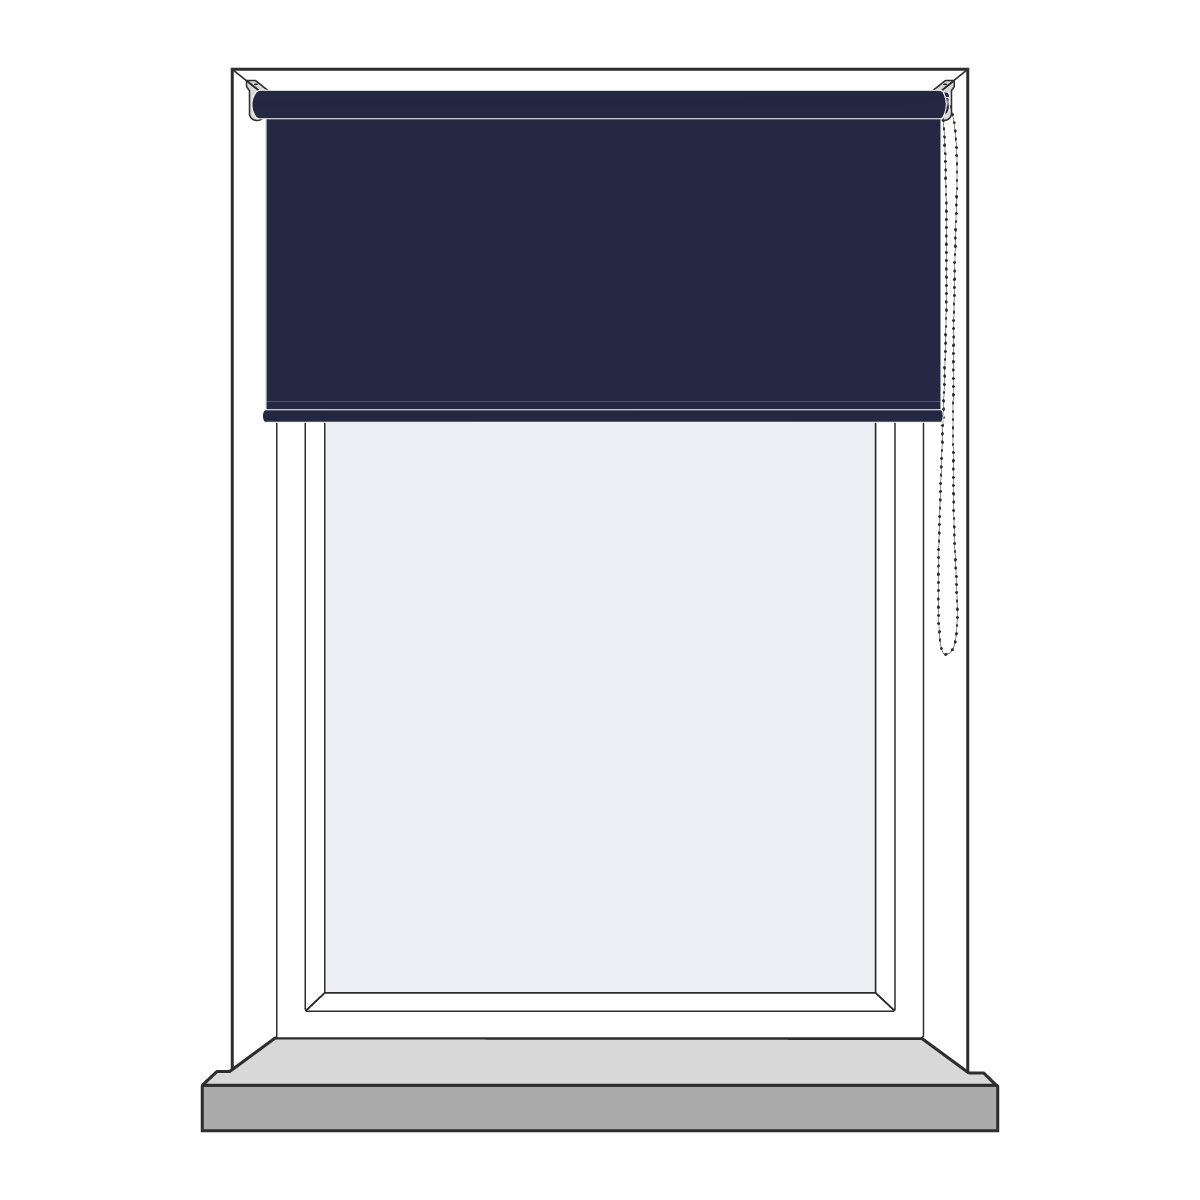
If you're fitting the blind inside the recess you can top fix the brackets to the lintel or face fix the brackets to the window frame.
If you're fitting the blind outside the window recess ensure that measurement (C) in the diagram above is the same to ensure even window coverage
Step 2
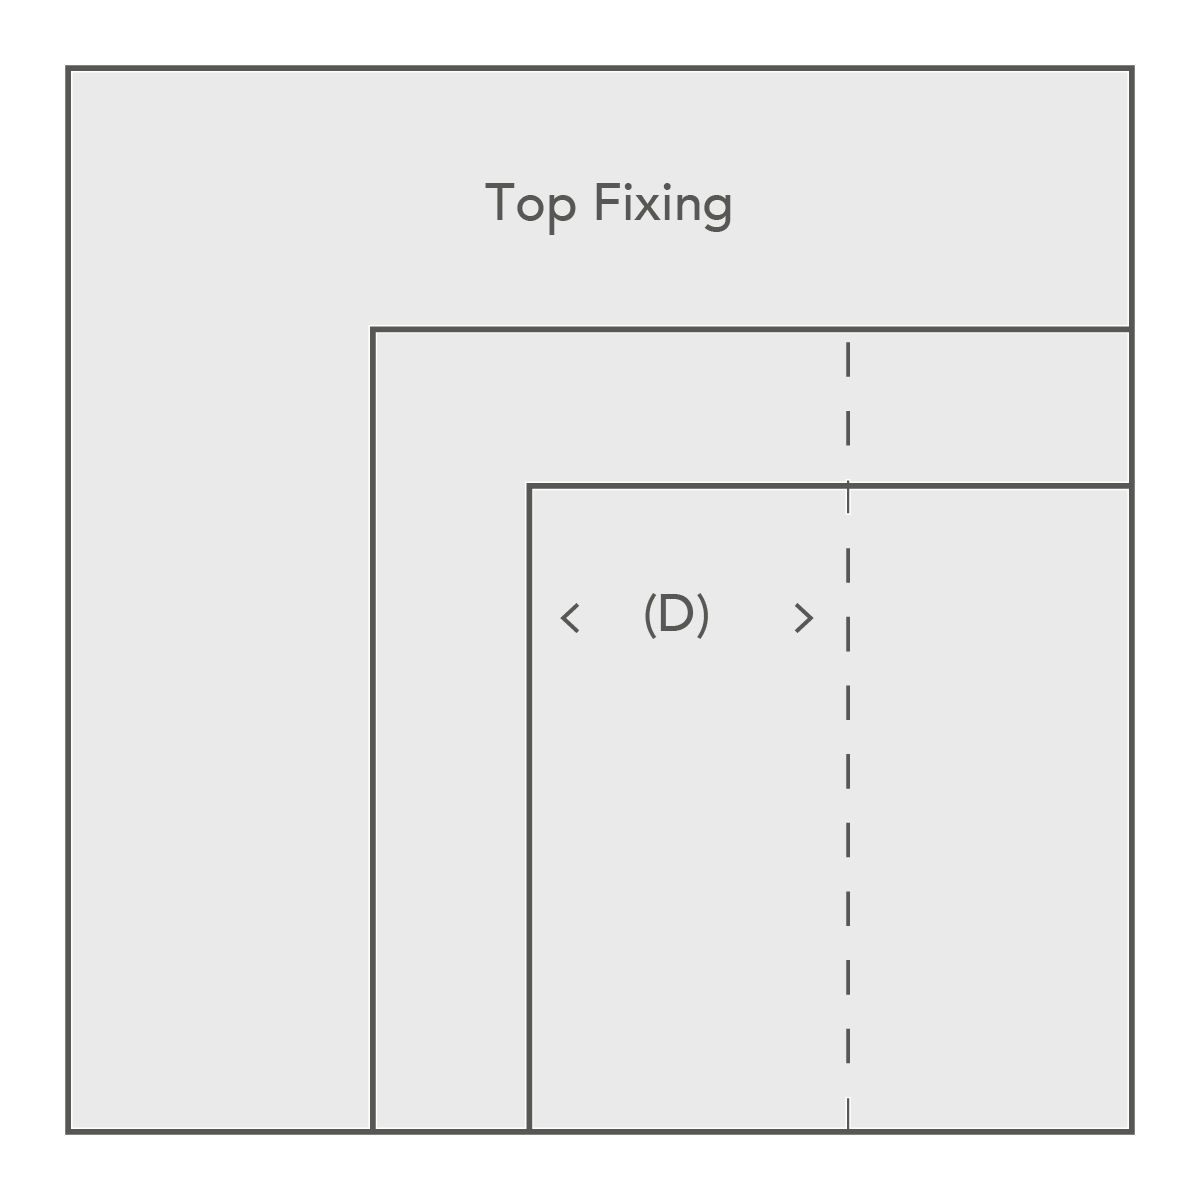
Option 1: Top Fixing
If you're fixing the bracket to the underside of the window recess (B), measure and mark the distance (D), allowing for obstructions like handles that protrude into the recess area. Hold each bracket in place and mark the hole positions. Drill a suitable hole and fit each bracket using suitable screws. Please ensure fixings are suitable for the wall/ surface to which you are mounting the brackets.

Option 2: Face Fixing
If your fixing the bracket to the face of the wall, or the window frame, hold each bracket in place and mark the hole positions with a pencil. Drill a suitable hole and fit each bracket using suitable screws. Please ensure fixings are suitable for the wall/ surface to which you are mounting the brackets.
Step 3
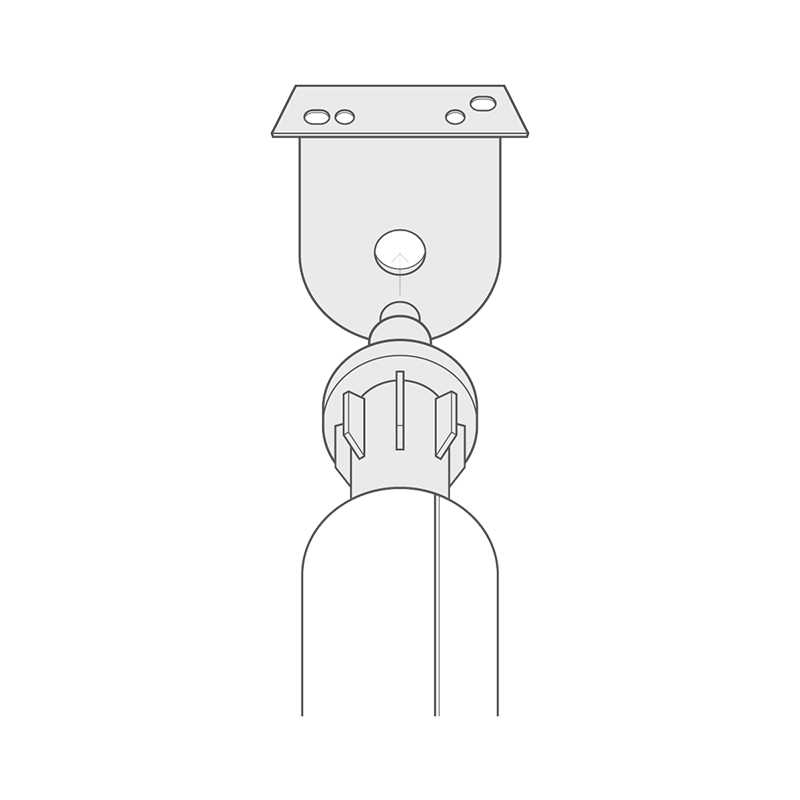
Inserting the Roller
Next, holding the fully-wound blind, insert the idle pin end into the bracket as shown
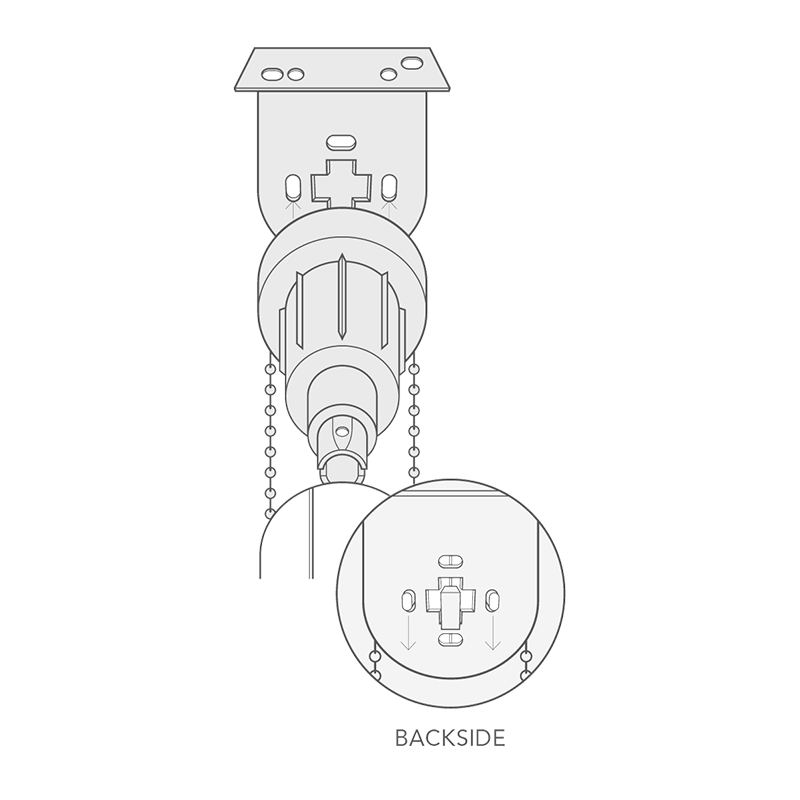
With the Idle pin end now in place. Insert the control end into the opposite bracket by depressing the pin end. Then, pull down vertically until the control end clicks into position.
Step 4
Child Safety
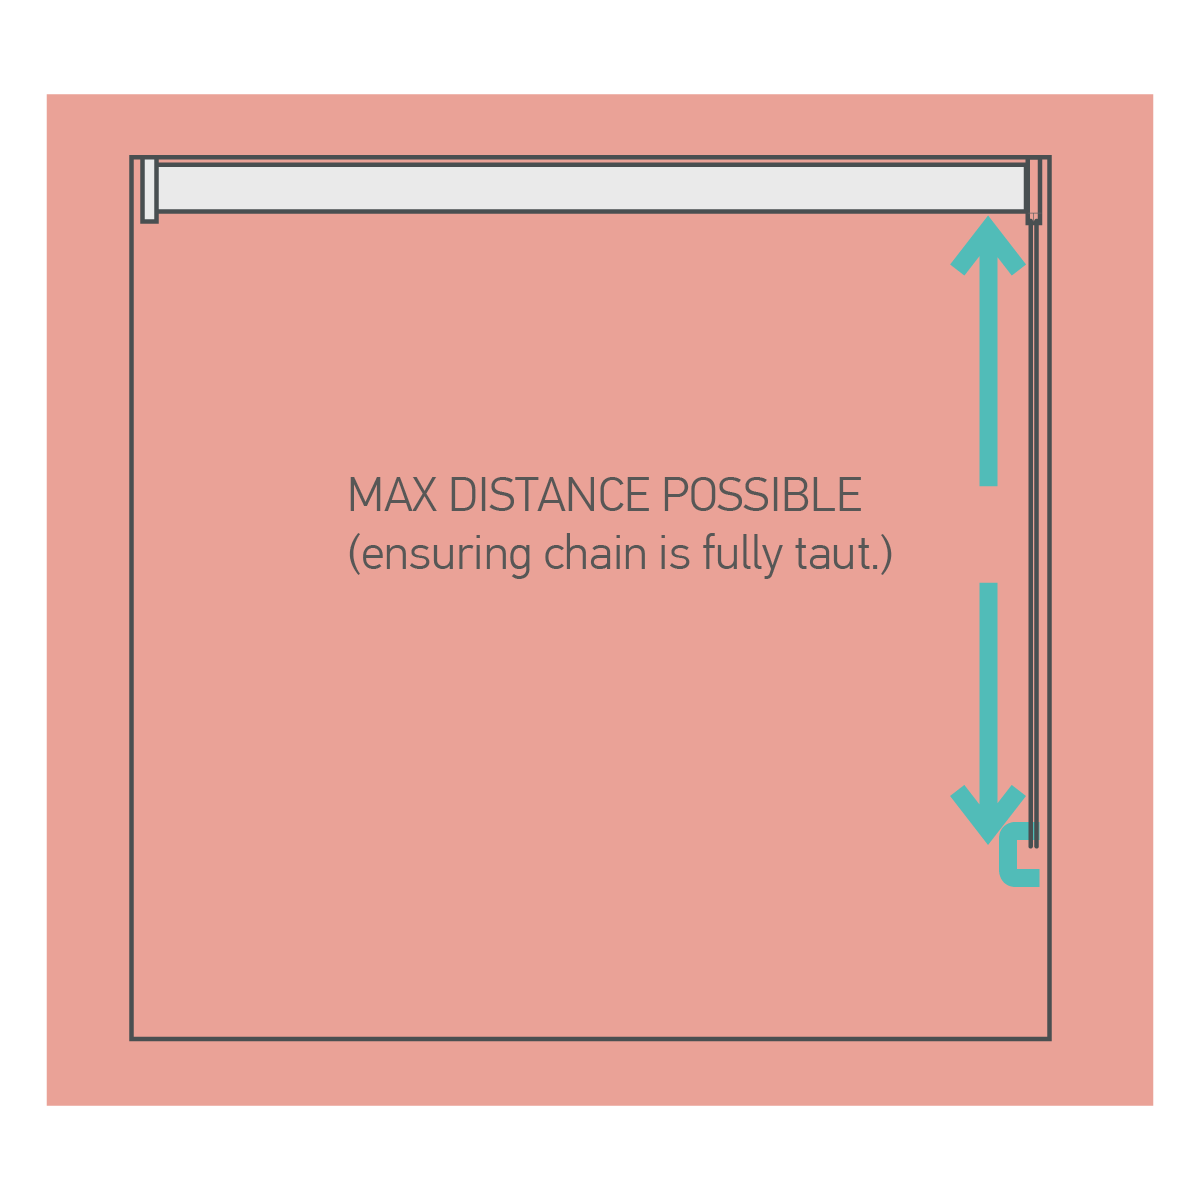
The safety device must be installed at the maximum distance possible from the control mechanism to prevent looped chain becoming slack. The chain should be taut. Place the safety device on the wall and mark the positioning of the 2 screw holes, then drill two suitable holes.
Securing the Safety Device
The safety device must be installed at the maximum distance possible from the control mechanism to prevent looped chain becoming slack.
Place the safety device on the wall and mark the positioning of the 2 screw holes.
Drill holes using a suitable drill bit. Place device into position ensuring the chain is fully taut.
Maintenance
Visual Checks
Your new blinds is maintenance free, however we recommend that regular visual checks are completed to ensure that no components have been damaged, which could result in operating difficulties and/or cause a safety risk.
If any maintenance is required please contact us right away.
Warning

Child Safety
Young children can be strangled by loops in pull cords, chains, tapes and inner cords that operate the product. To avoid strangulation and entanglement, keep cords out of the reach of young children. Cords may become wrapped around a child’s neck. Move beds, cots and furniture away from window covering cords. Do not tie cords together. Make sure cords do not twist and create a loop.