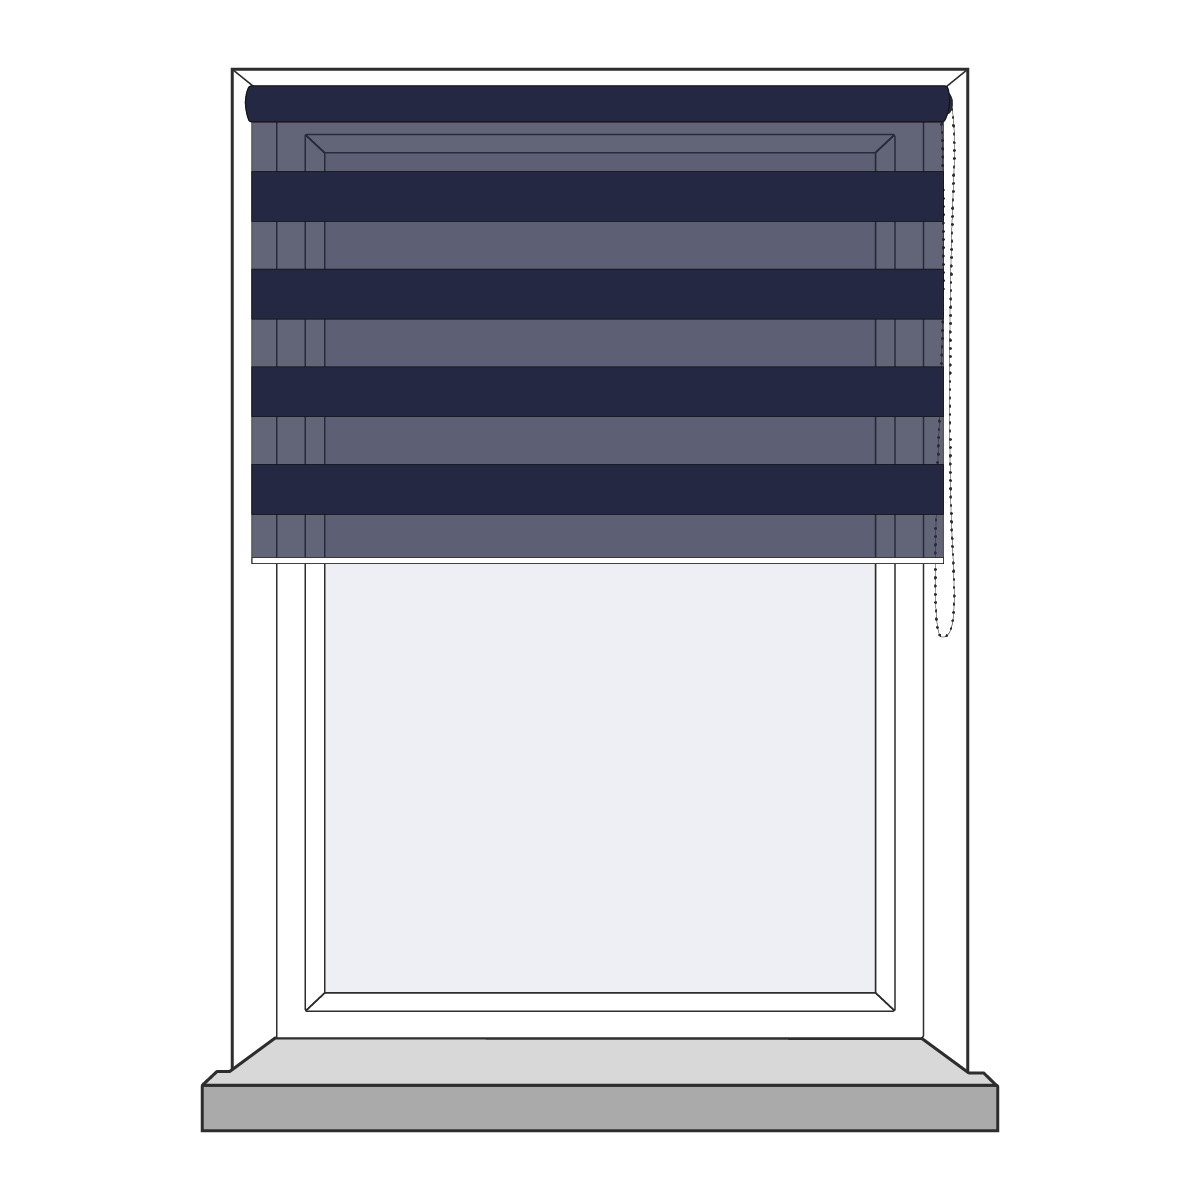
How to Install Day & Night Roller Blinds
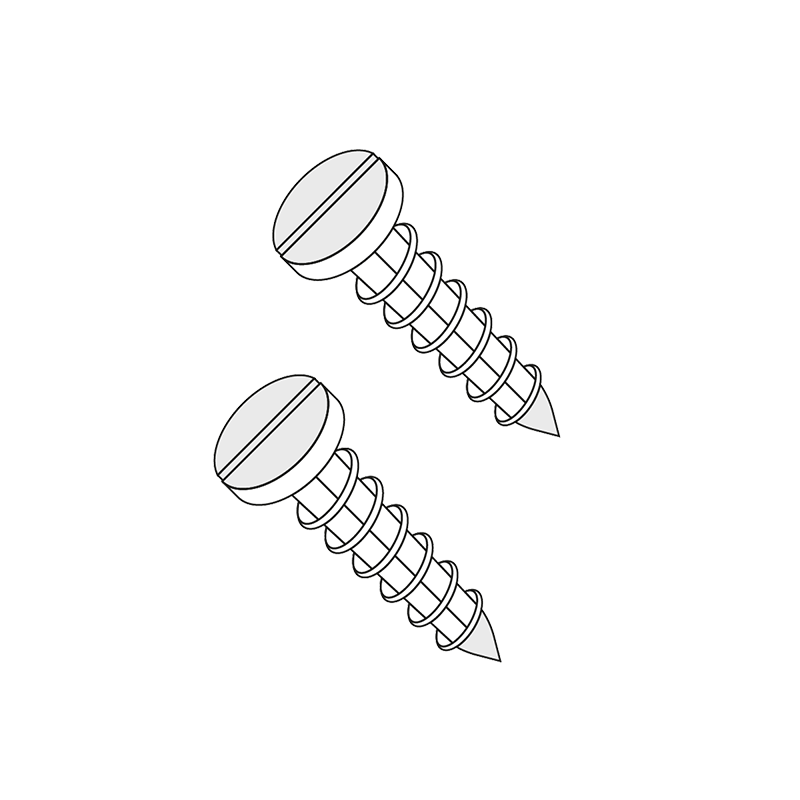
Installing a Day & Night roller blind is quick and easy with our step by step guide. Grab your tools and follow the insructions below. If you need any assistance along the way please give us a call or start a live chat with our highly trained customer support team. You will need to provide your own screws as the type required varies greatly depending upon the surfaces you are fixing to. You will need 4mm diameter screws, suitable for the material you are installing into.
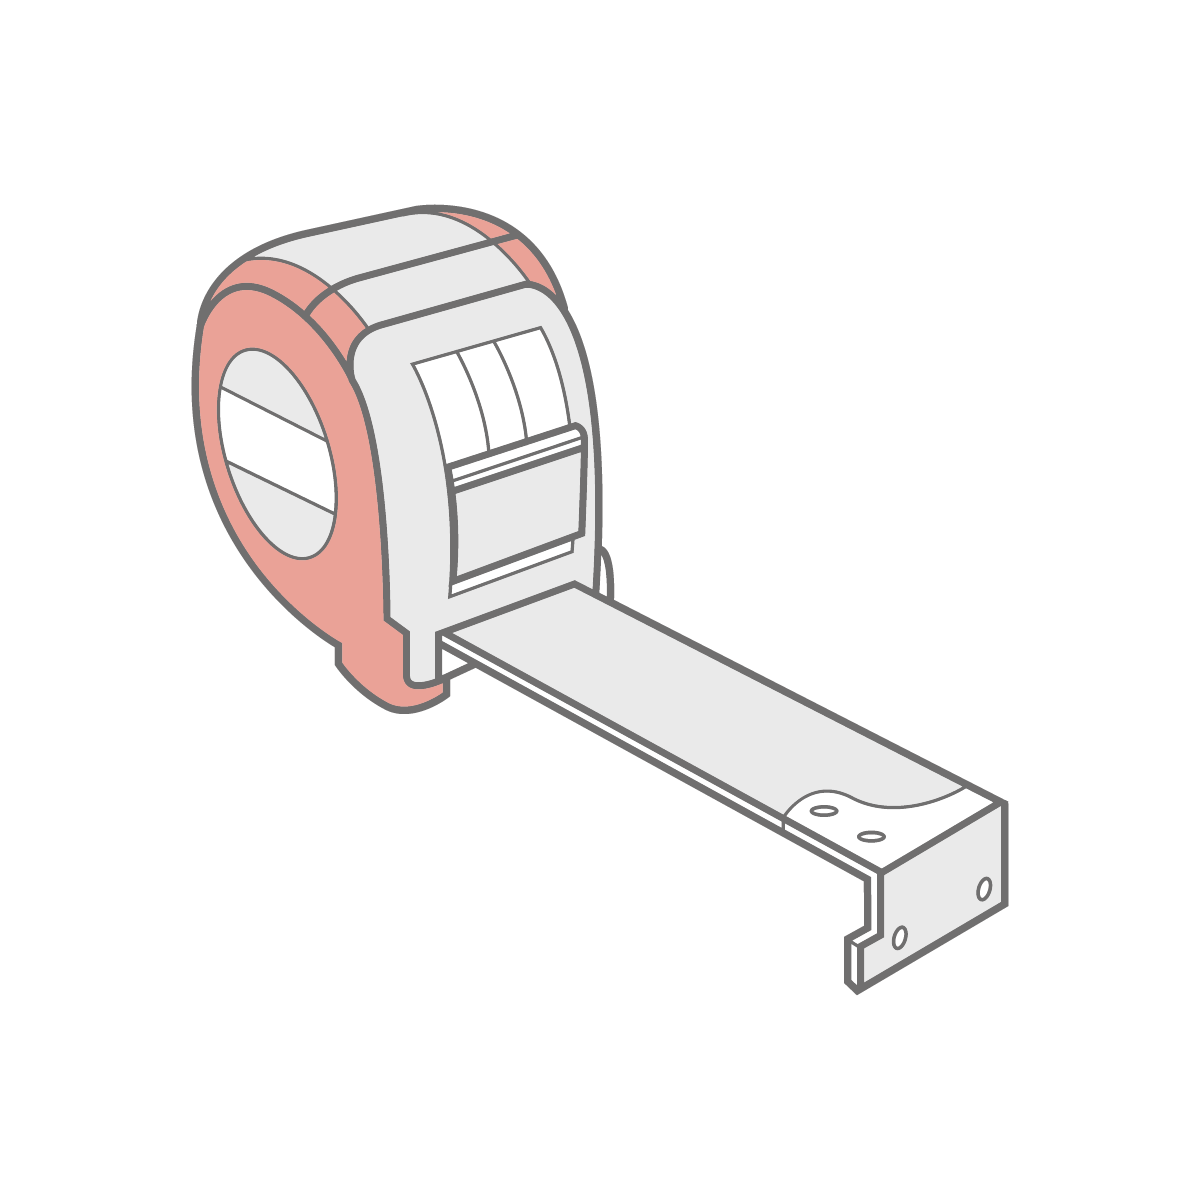
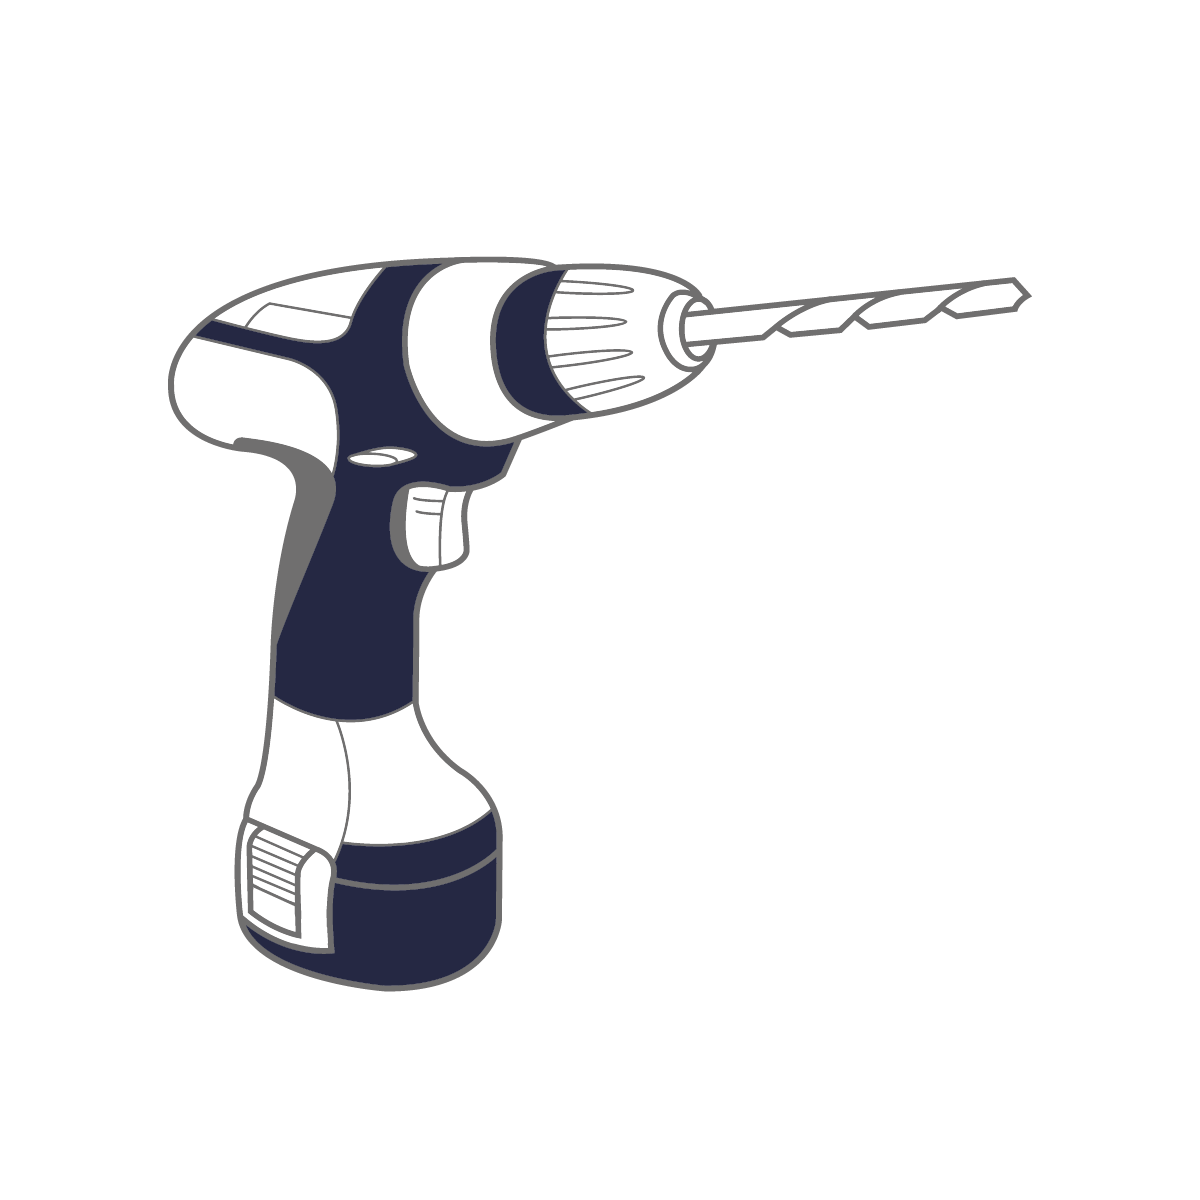
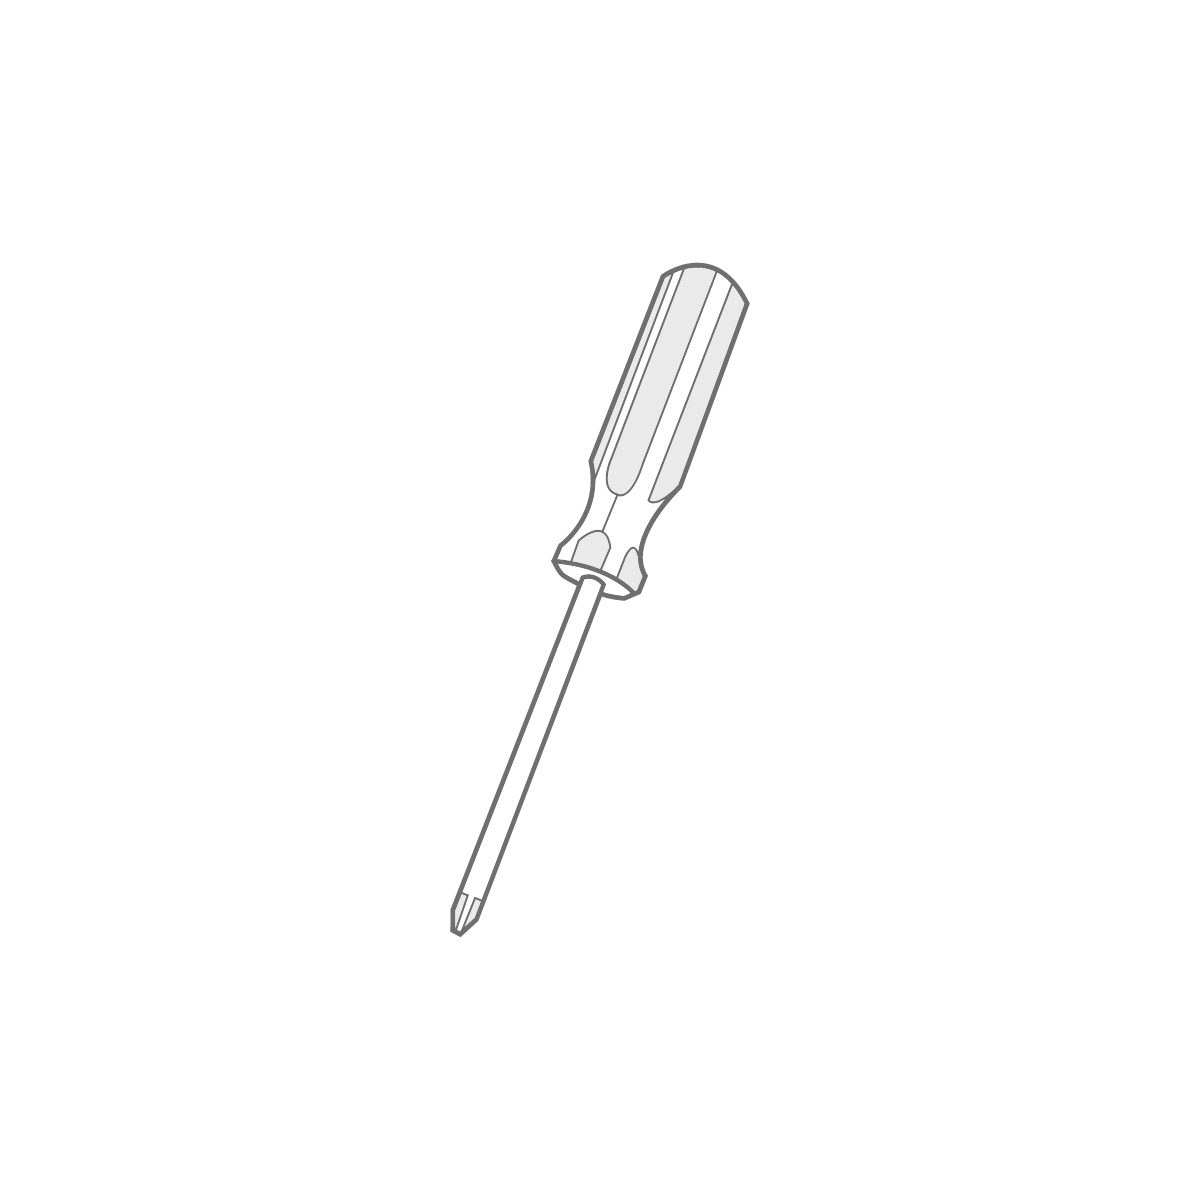
What You'll Need
To install your new blinds you will need the below tools.
Deciding where to mount the brackets
Ensure that brackets are positioned a suitable distance away from any window, door handles or any other obstructions to allow the blind to operate smoothly.
Fitting Instructions
Step 1
Bracket Positioning
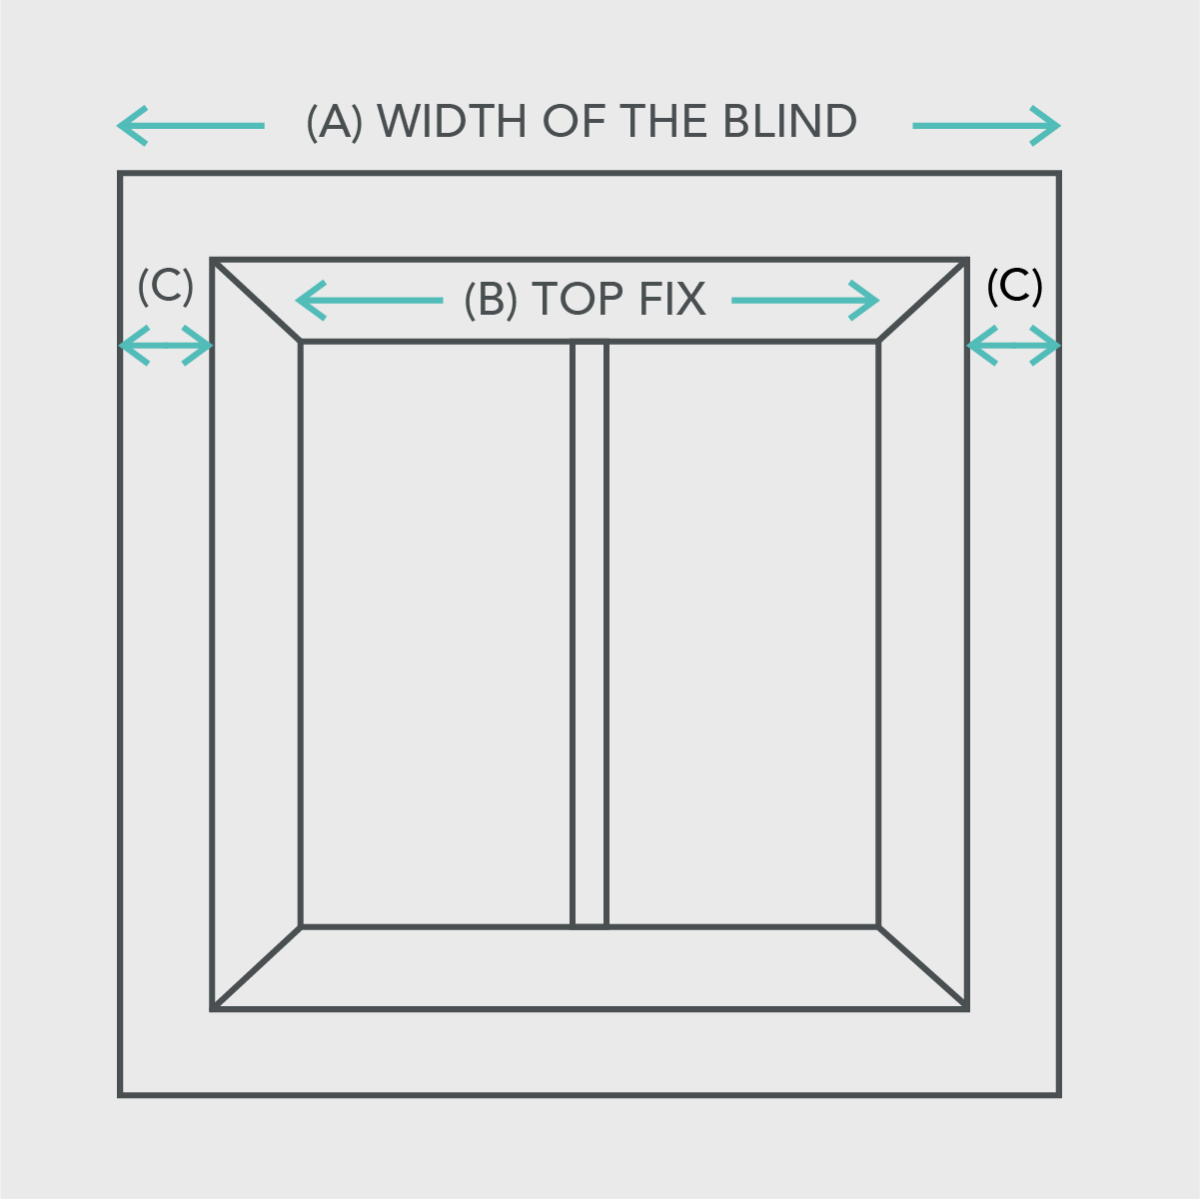
Outside Recess
If the blind is to be fitted outside the window ensure that measurement C is the same. Follow instructions for face fixing to calculate C (A-B)/2.
Inside Recess
For isntallation inside the recess, either top fix to the lintel or face fix bracket to the window frame.
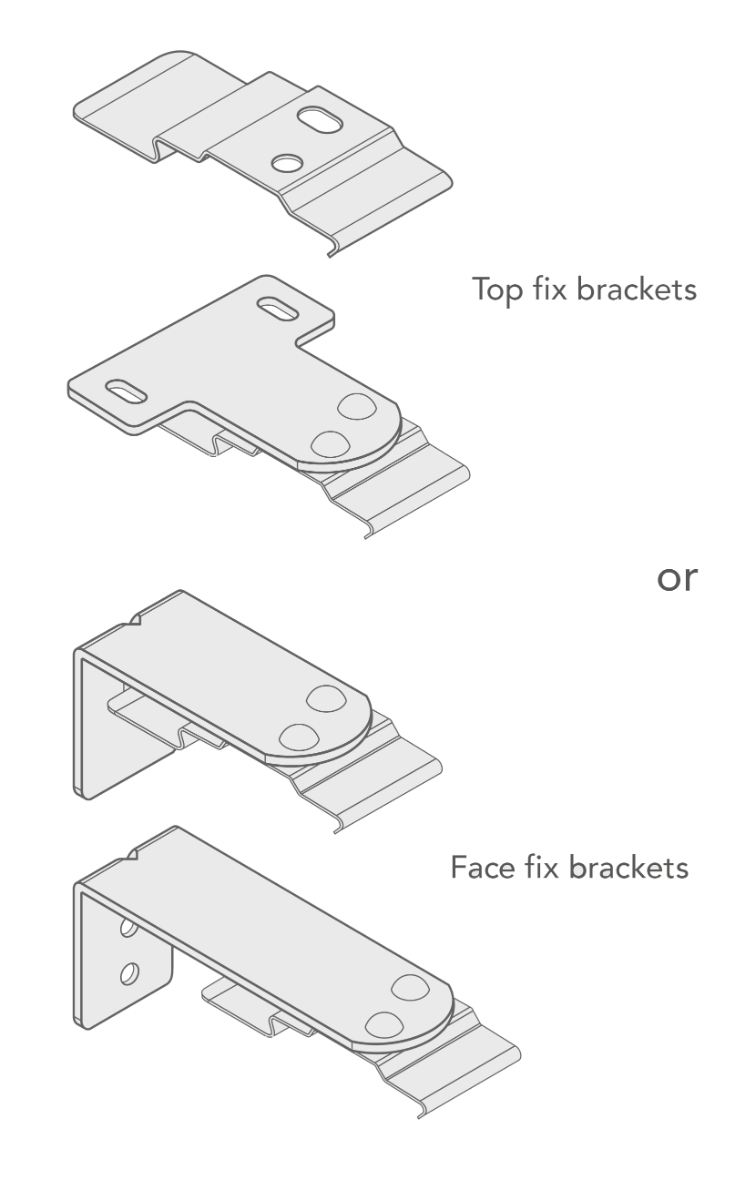
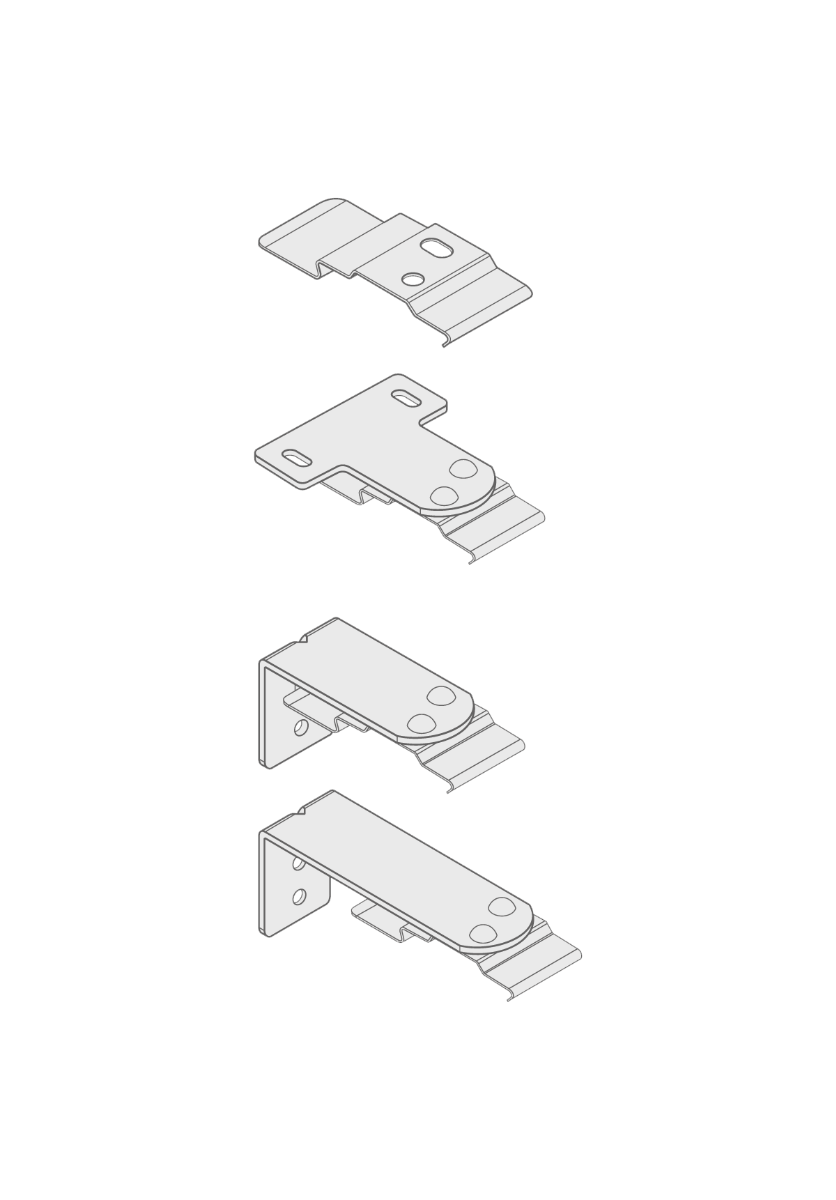
Bracket Options
Carefully unwrap the roller blind and its associated brackets. The cassette top fix brackets come as standard with all cassette roller blinds unless alternative brackets were selected during time of ordering.
Step 2
Fixing the Brackets
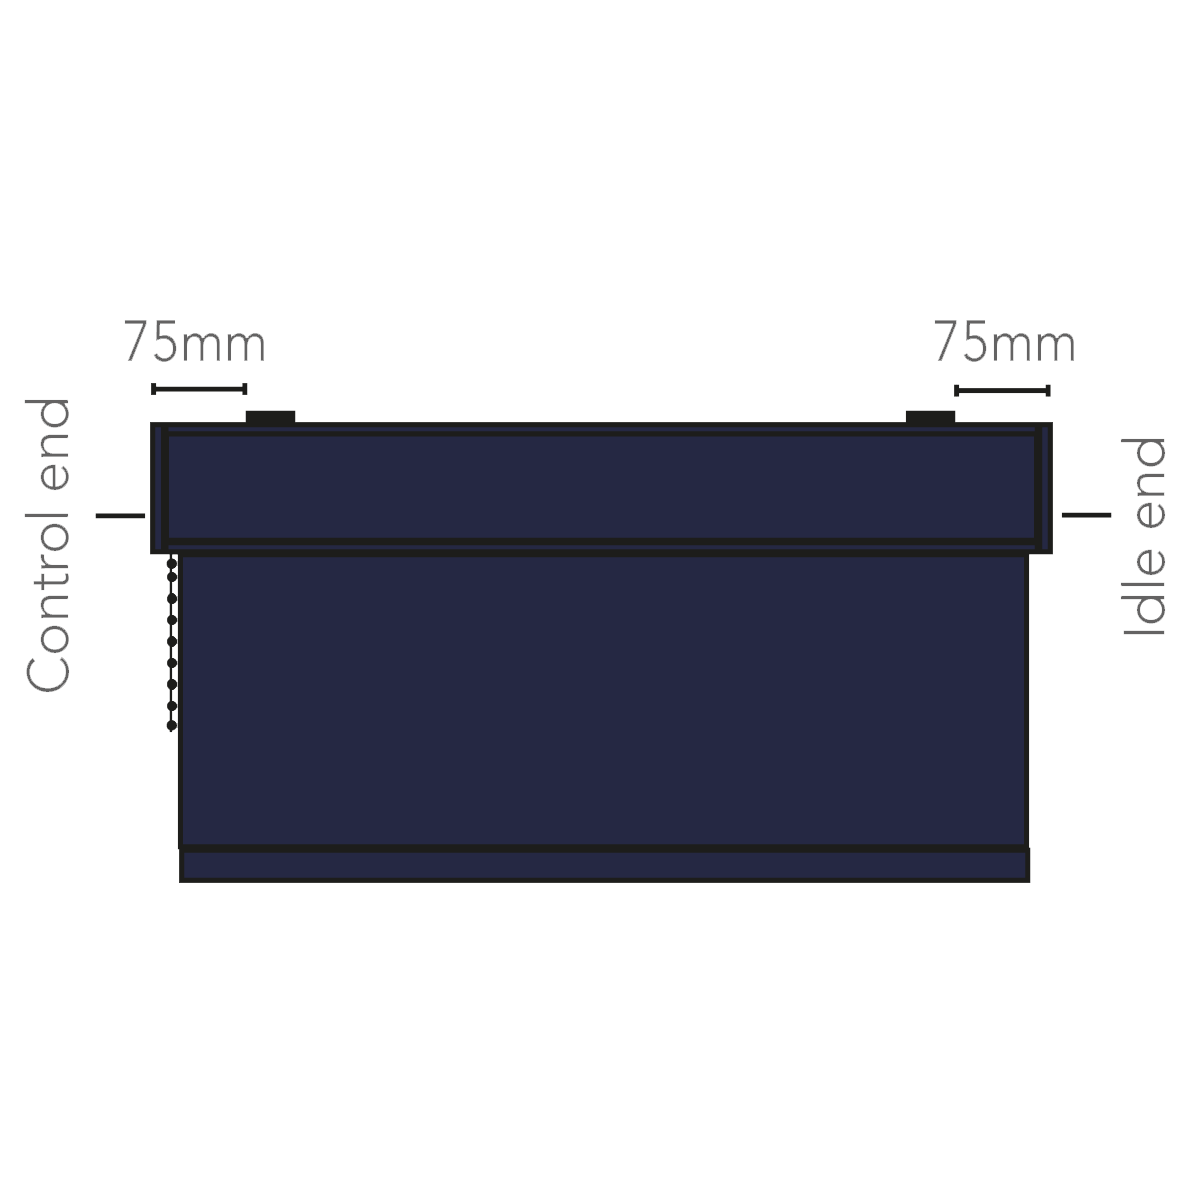
For a blind up to 1 metre wide attach two brackets fitted approximately 75mm (3”) from each end of the blind (fig. 1). Any intermediate brackets should be spaced evenly between these and as a general rule:
Up to 1m = 2 brackets 1m to 2m = 3 brackets. 2m to 3m = 4 brackets. Over 3m = 5 brackets.
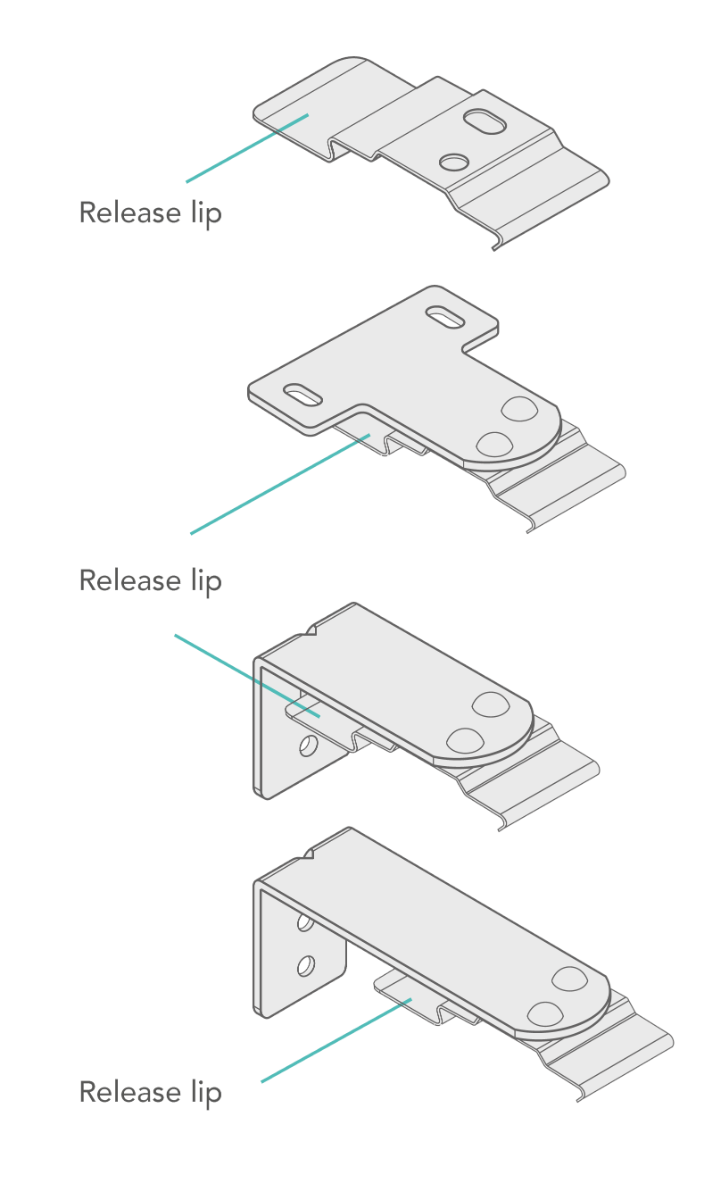
Release Lip
The bracket release lip on the bracket must face the back of the blind.
Mark the hole positions before drilling and plugging if necessary. Use two screws in each bracket ensuring that the brackets are level. Remember to allow room for the blind to clear any obstacles when deployed, e.g. door or window handles.
Step 3

Fitting the Cassette
Once all the brackets are in place position the blind into the brackets.
Step 4
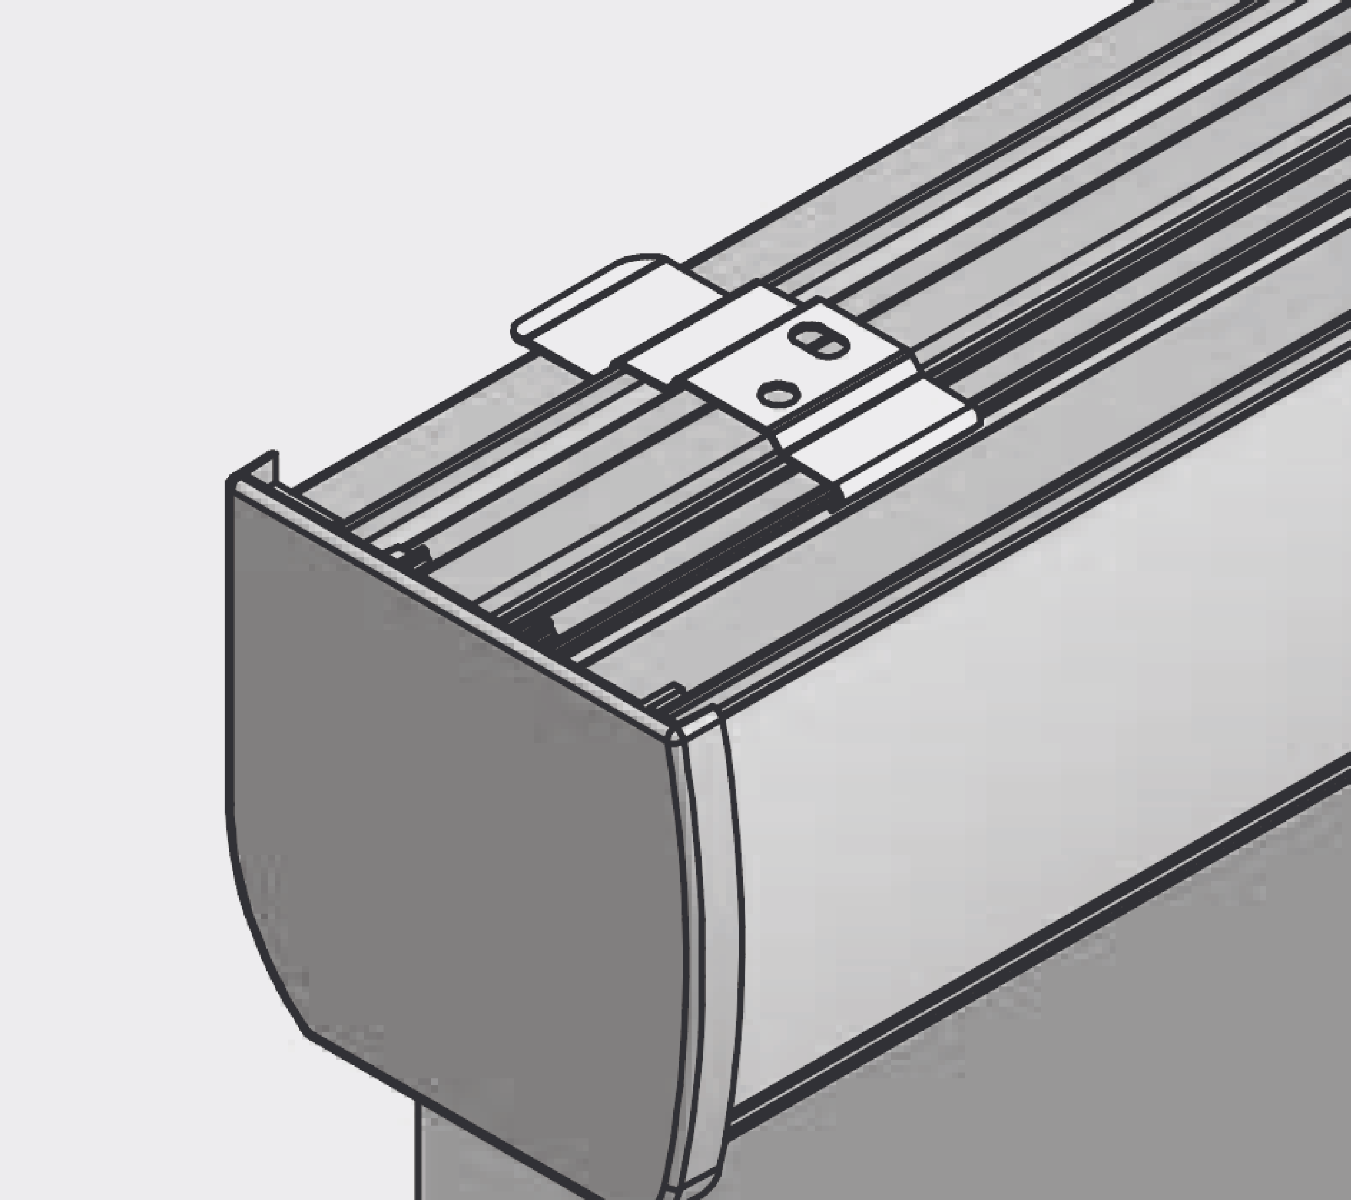
With the cassette tilted away from you locate the front lip into the bracket and push upwards to click the cassette into the back lip of the bracket.
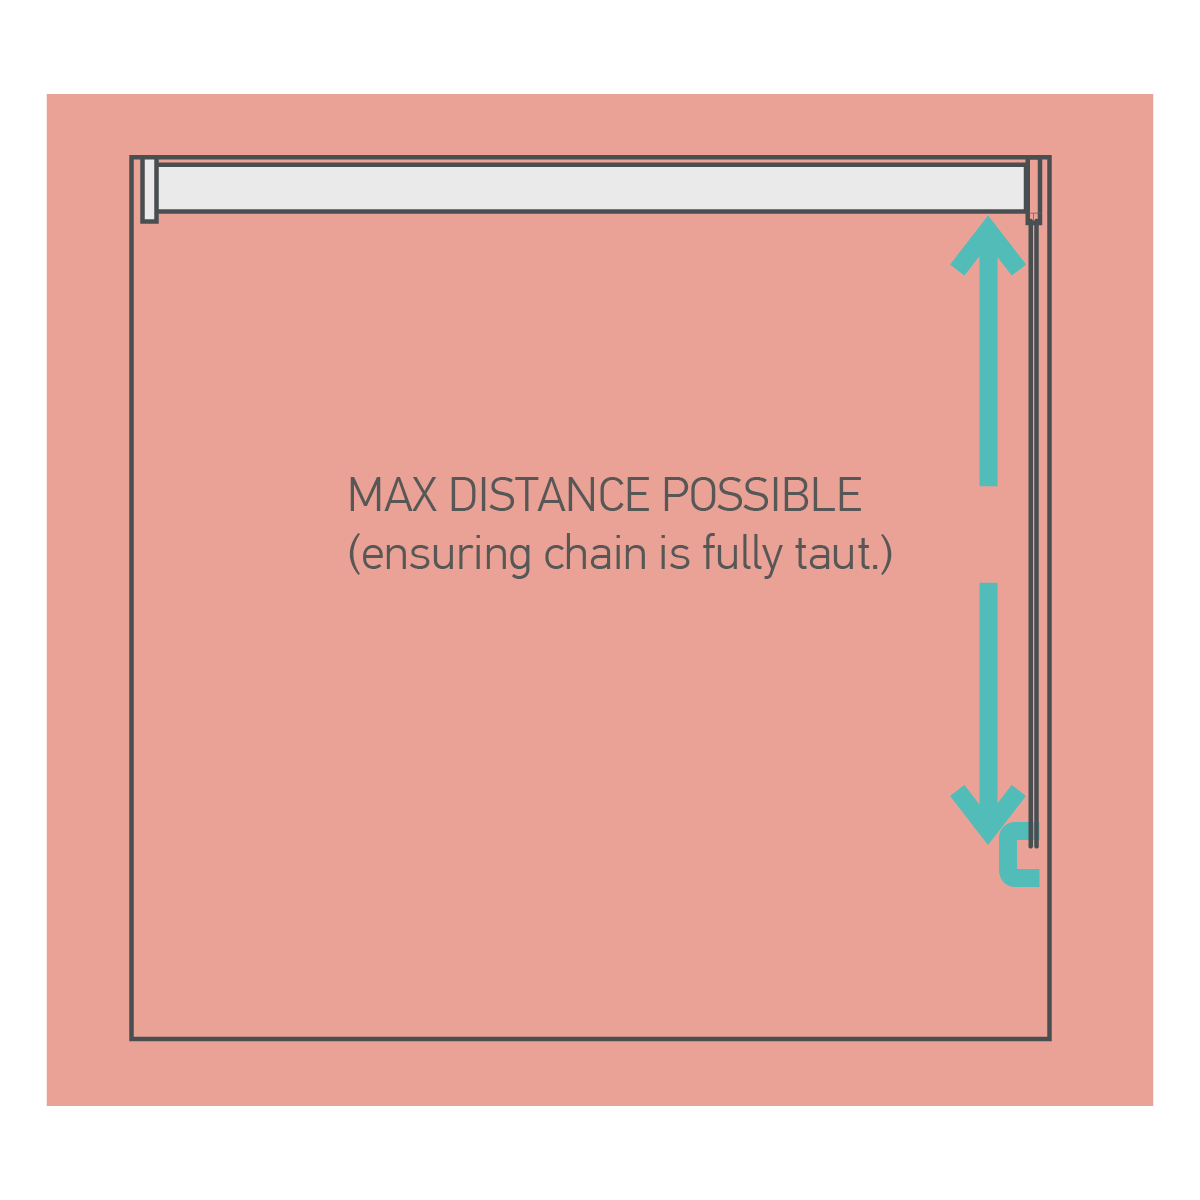
Securing the Safety Device
The safety device must be installed at the maximum distance possible from the control mechanism to prevent looped chain becoming slack.
Place the safety device on the wall and mark the positioning of the 2 screw holes.
Drill holes using a suitable drill bit. Place device into position ensuring the chain is fully taut.
Maintenance
Visual Checks
Your new blinds is maintenance free, however we recommend that regular visual checks are completed to ensure that no components have been damaged, which could result in operating difficulties and/or cause a safety risk.
If any maintenance is required please contact us right away.