How to Install Eyelet Curtains
If you're looking to install eyelet curtains, installing them properly can really make a huge difference to the look of a room. Here, we'll take you through the process of hanging a curtain pole and getting those eyelet curtains hung as easily as possible. If you need any assistance along the way please give us a call or start a live chat with our highly trained customer support team.
What You'll Need
To install your new blinds you will need the below tools.
Video
We recommend watching our how to install video guide first.
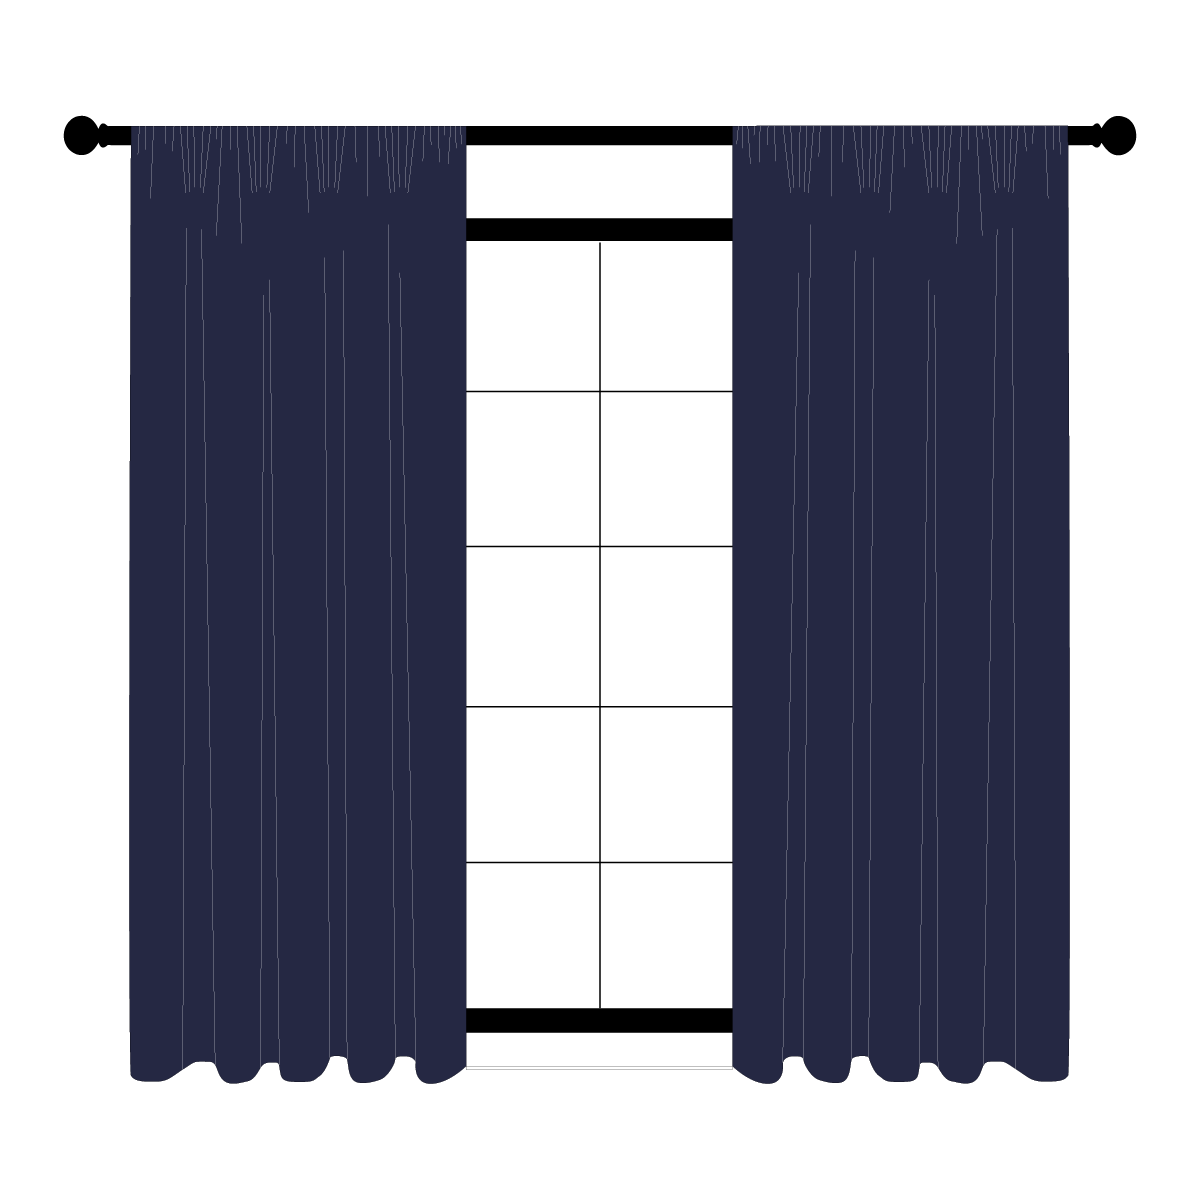
Fitting Instructions For Eyelet Curtains
Please take care when unpacking your blind, do not use a knife or any sharp objects when unpacking.
Step 1

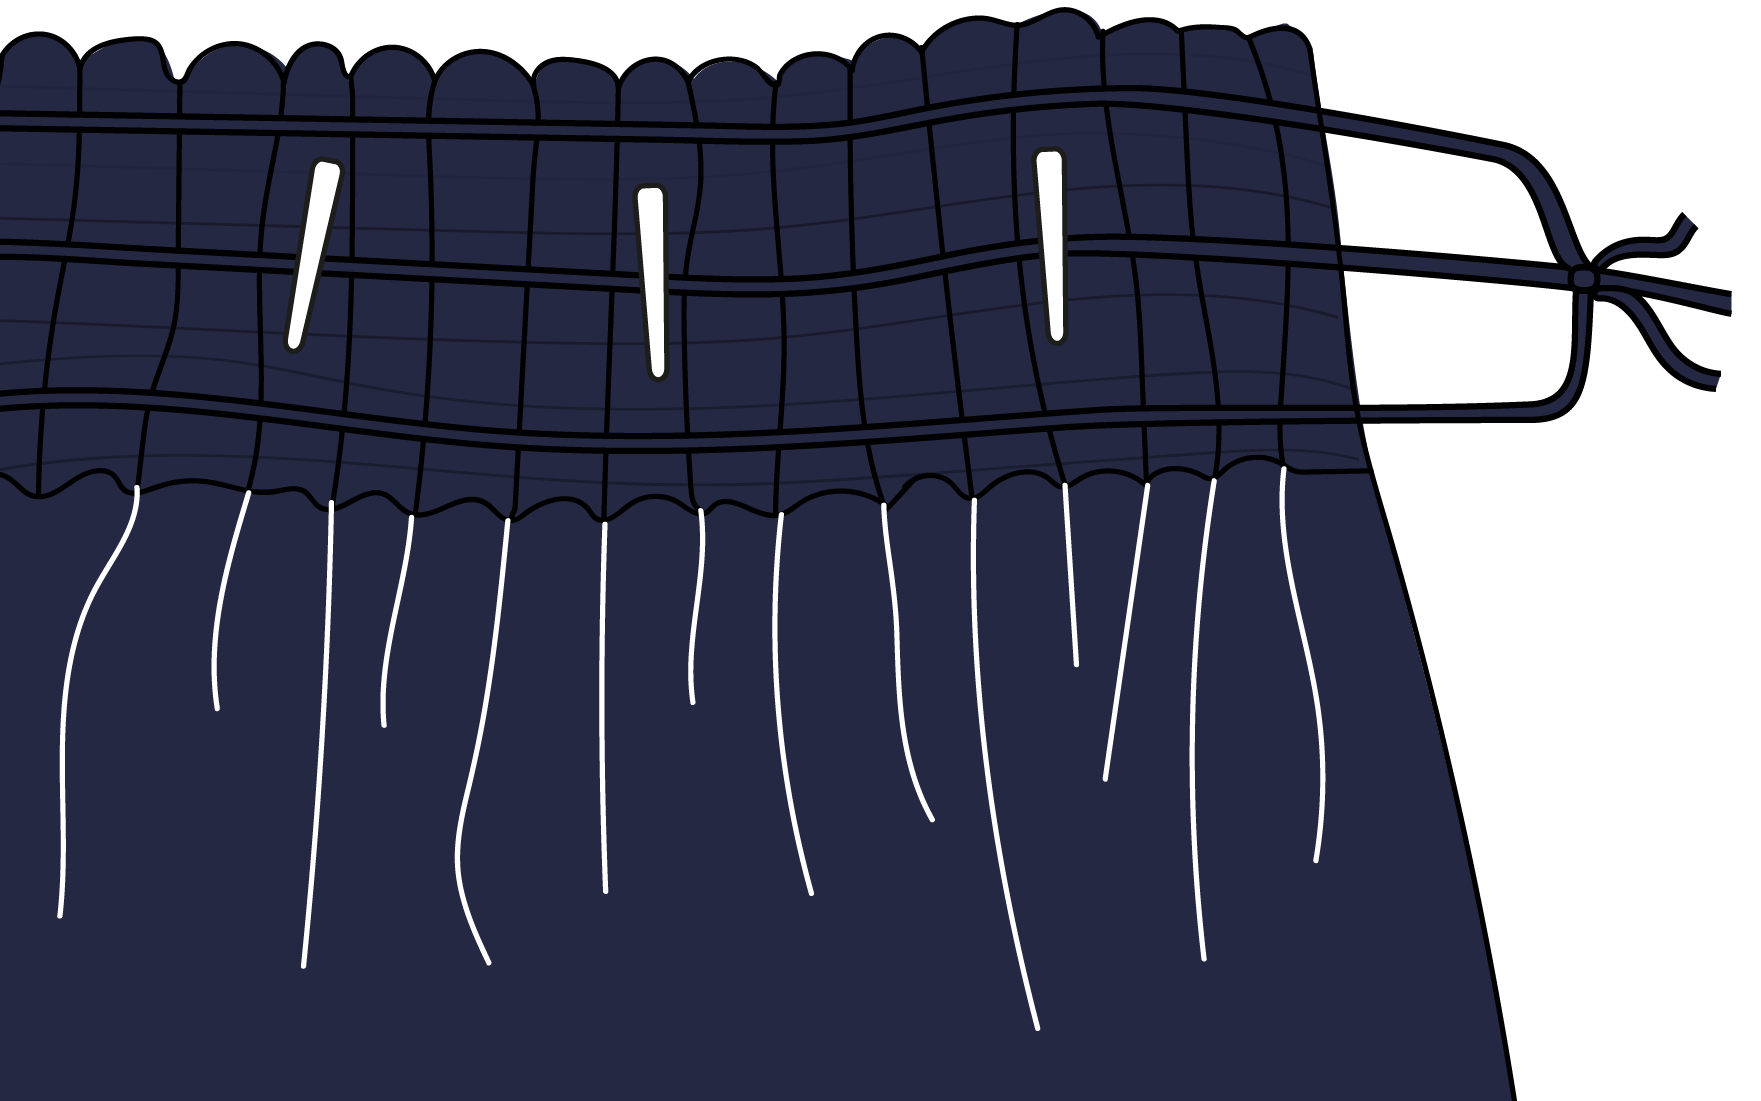
Hanging your Curtains
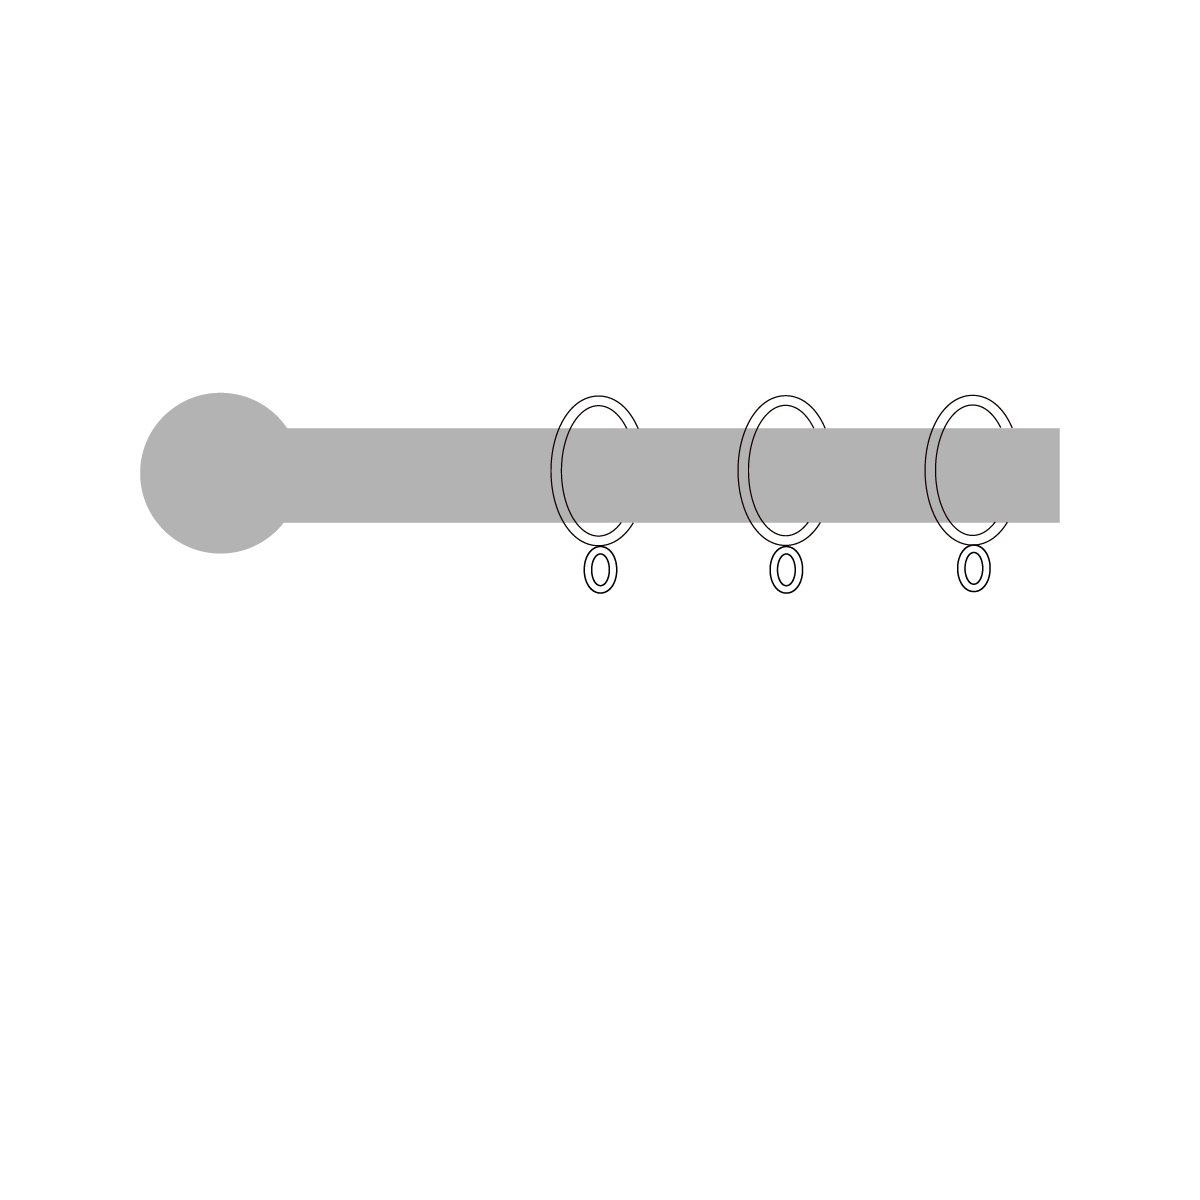
Make sure that you have the same number of track gliders or pole rings as you have pleats and then simply hook through. If you have a curtain pole, attach the final curtain hook between the bracket and the finial and for a curtain track attach it to the fixed glider at the end.
Step 2
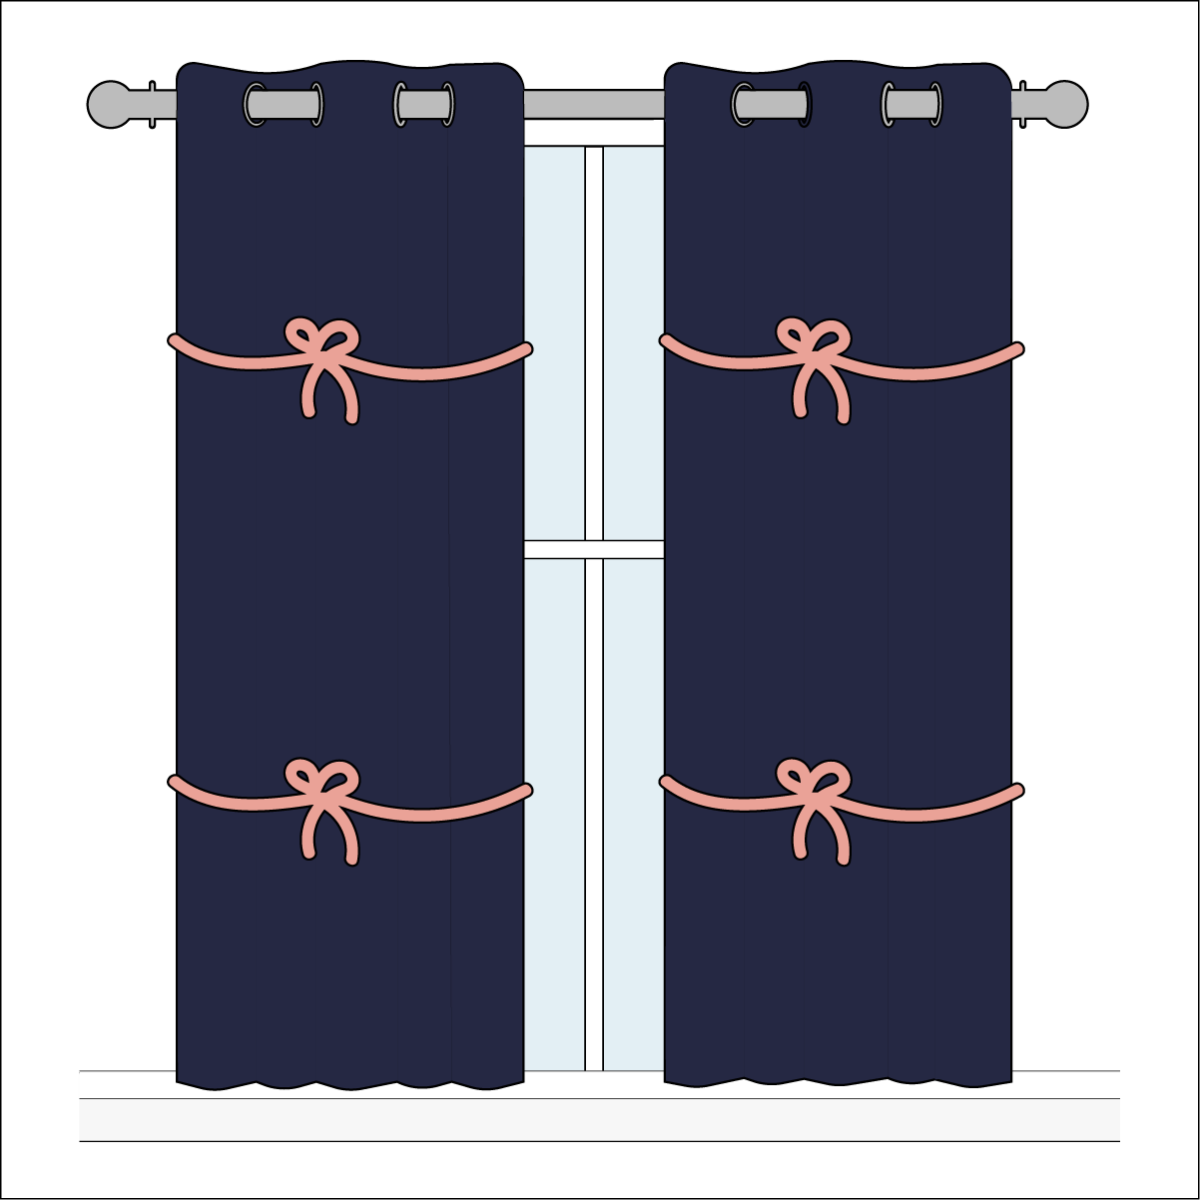
Fitting Eyelet Heading Curtains
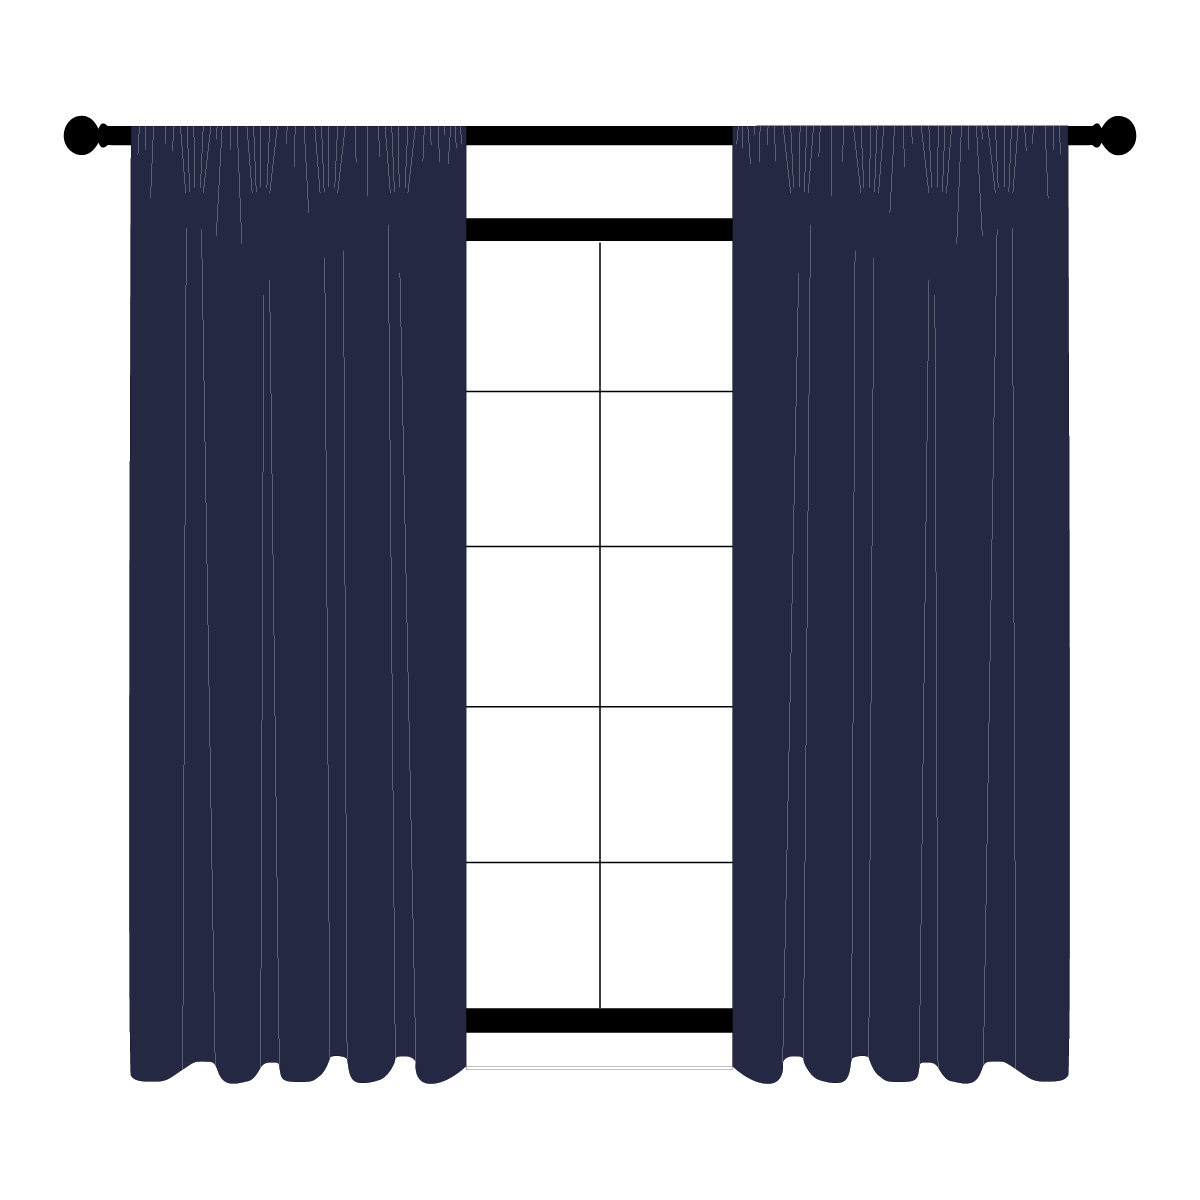
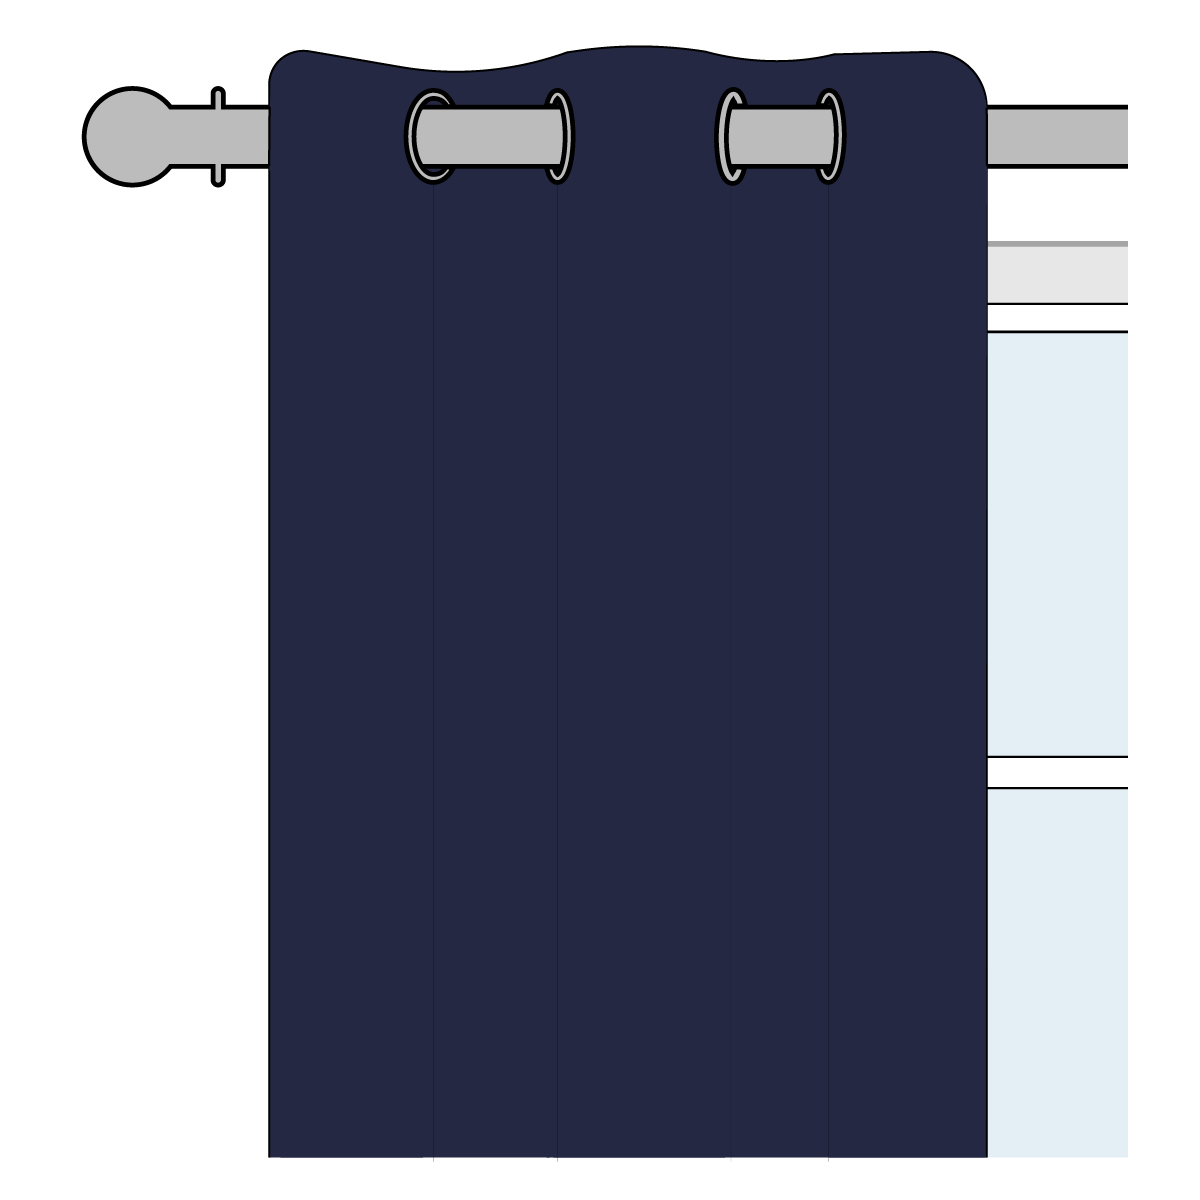
The easiest curtain type to fit. All you need to do is feed each eyelet into the pole; make sure that the leading and outside edge of the curtain points inwards towards the window for a beautiful and finished look. Position the final eyelet between the bracket and the finial.
Step 3
Expert Advice
All curtains will need time to settle and look their best. To help in this process we recommend you take some time to arrange your curtains into neat, even fullness folds for the first few days. Eventually you will build a ‘memory’ into the fabric and the curtains will hold their look.
Final Steps
When curtains are first hung, they should be dressed to encourage them to fall into even folds.
Step 1
Dressing Your Curtains
- To begin, draw the curtains back to the side of your window.
- Starting from the outside edge, work from the top downwards and run your hands firmly down the length of each pleat or fold so that they fall into smooth pleats.
- Ideally you should now tie your curtains. We recommend you cut strips from the plastic packaging your curtains have been delivered in, to tie around the whole curtain. They should hold the folds into position but not be so tight that they mark the fabric.
- Leave in position for about 48 hours and then untie. Your curtains will now hang beautifully.
Step 2
Looking After your Curtains
We always recommend professional dry cleaning for all curtains. Before cleaning your curtains, remove all curtain hooks, untie the pencil pleat draw cords at one end and stretch the curtain out flat. For cleaning instructions please refer to the label in each curtain.
Shrinkage We always recommend dry cleaning your curtains to minimise shrinkage.
Ironing All curtains (except velvet) can be lightly ironed with a warm iron. Steam, excessive pressure or temperature should be avoided as these can stretch or shrink the fabric.
Velvets Velvet pile is prone to flattening during transit or cleaning which can show as patches of darker and lighter shade. These marks will usually disappear when the curtains have been hung, but it may be necessary to assist by steaming (with a kettle) and brushing upwards to lift the pile. Velvets and all lined or fringed products must always be dry cleaned and never ironed.
Step 3

Make your Curtains Safe
Young children can be strangled by loops in pull cords, chains, tapes, and inner cords that operate the product. To avoid strangulations and entanglement, keep cords out of the reach of young children.
- Move beds, cots and furniture away from window covering cords.
- Do not tie cords together.
- Make sure cords do not twist and create a loop.
- If you’re using corded tracks or poles, ensure the child safety accessories are correctly fitted.
- Curtain track, pole and blind cords should never be cut, even as a short term solution. Cutting the cord in the wrong place can make the curtain track, pole or blind inoperable. It will also lead to one cord becoming much longer than the other which increases the risk of a child becoming entangled. The cut cords can also become entangled and resulting in the reformation of a loop defying the very purpose of cutting them.